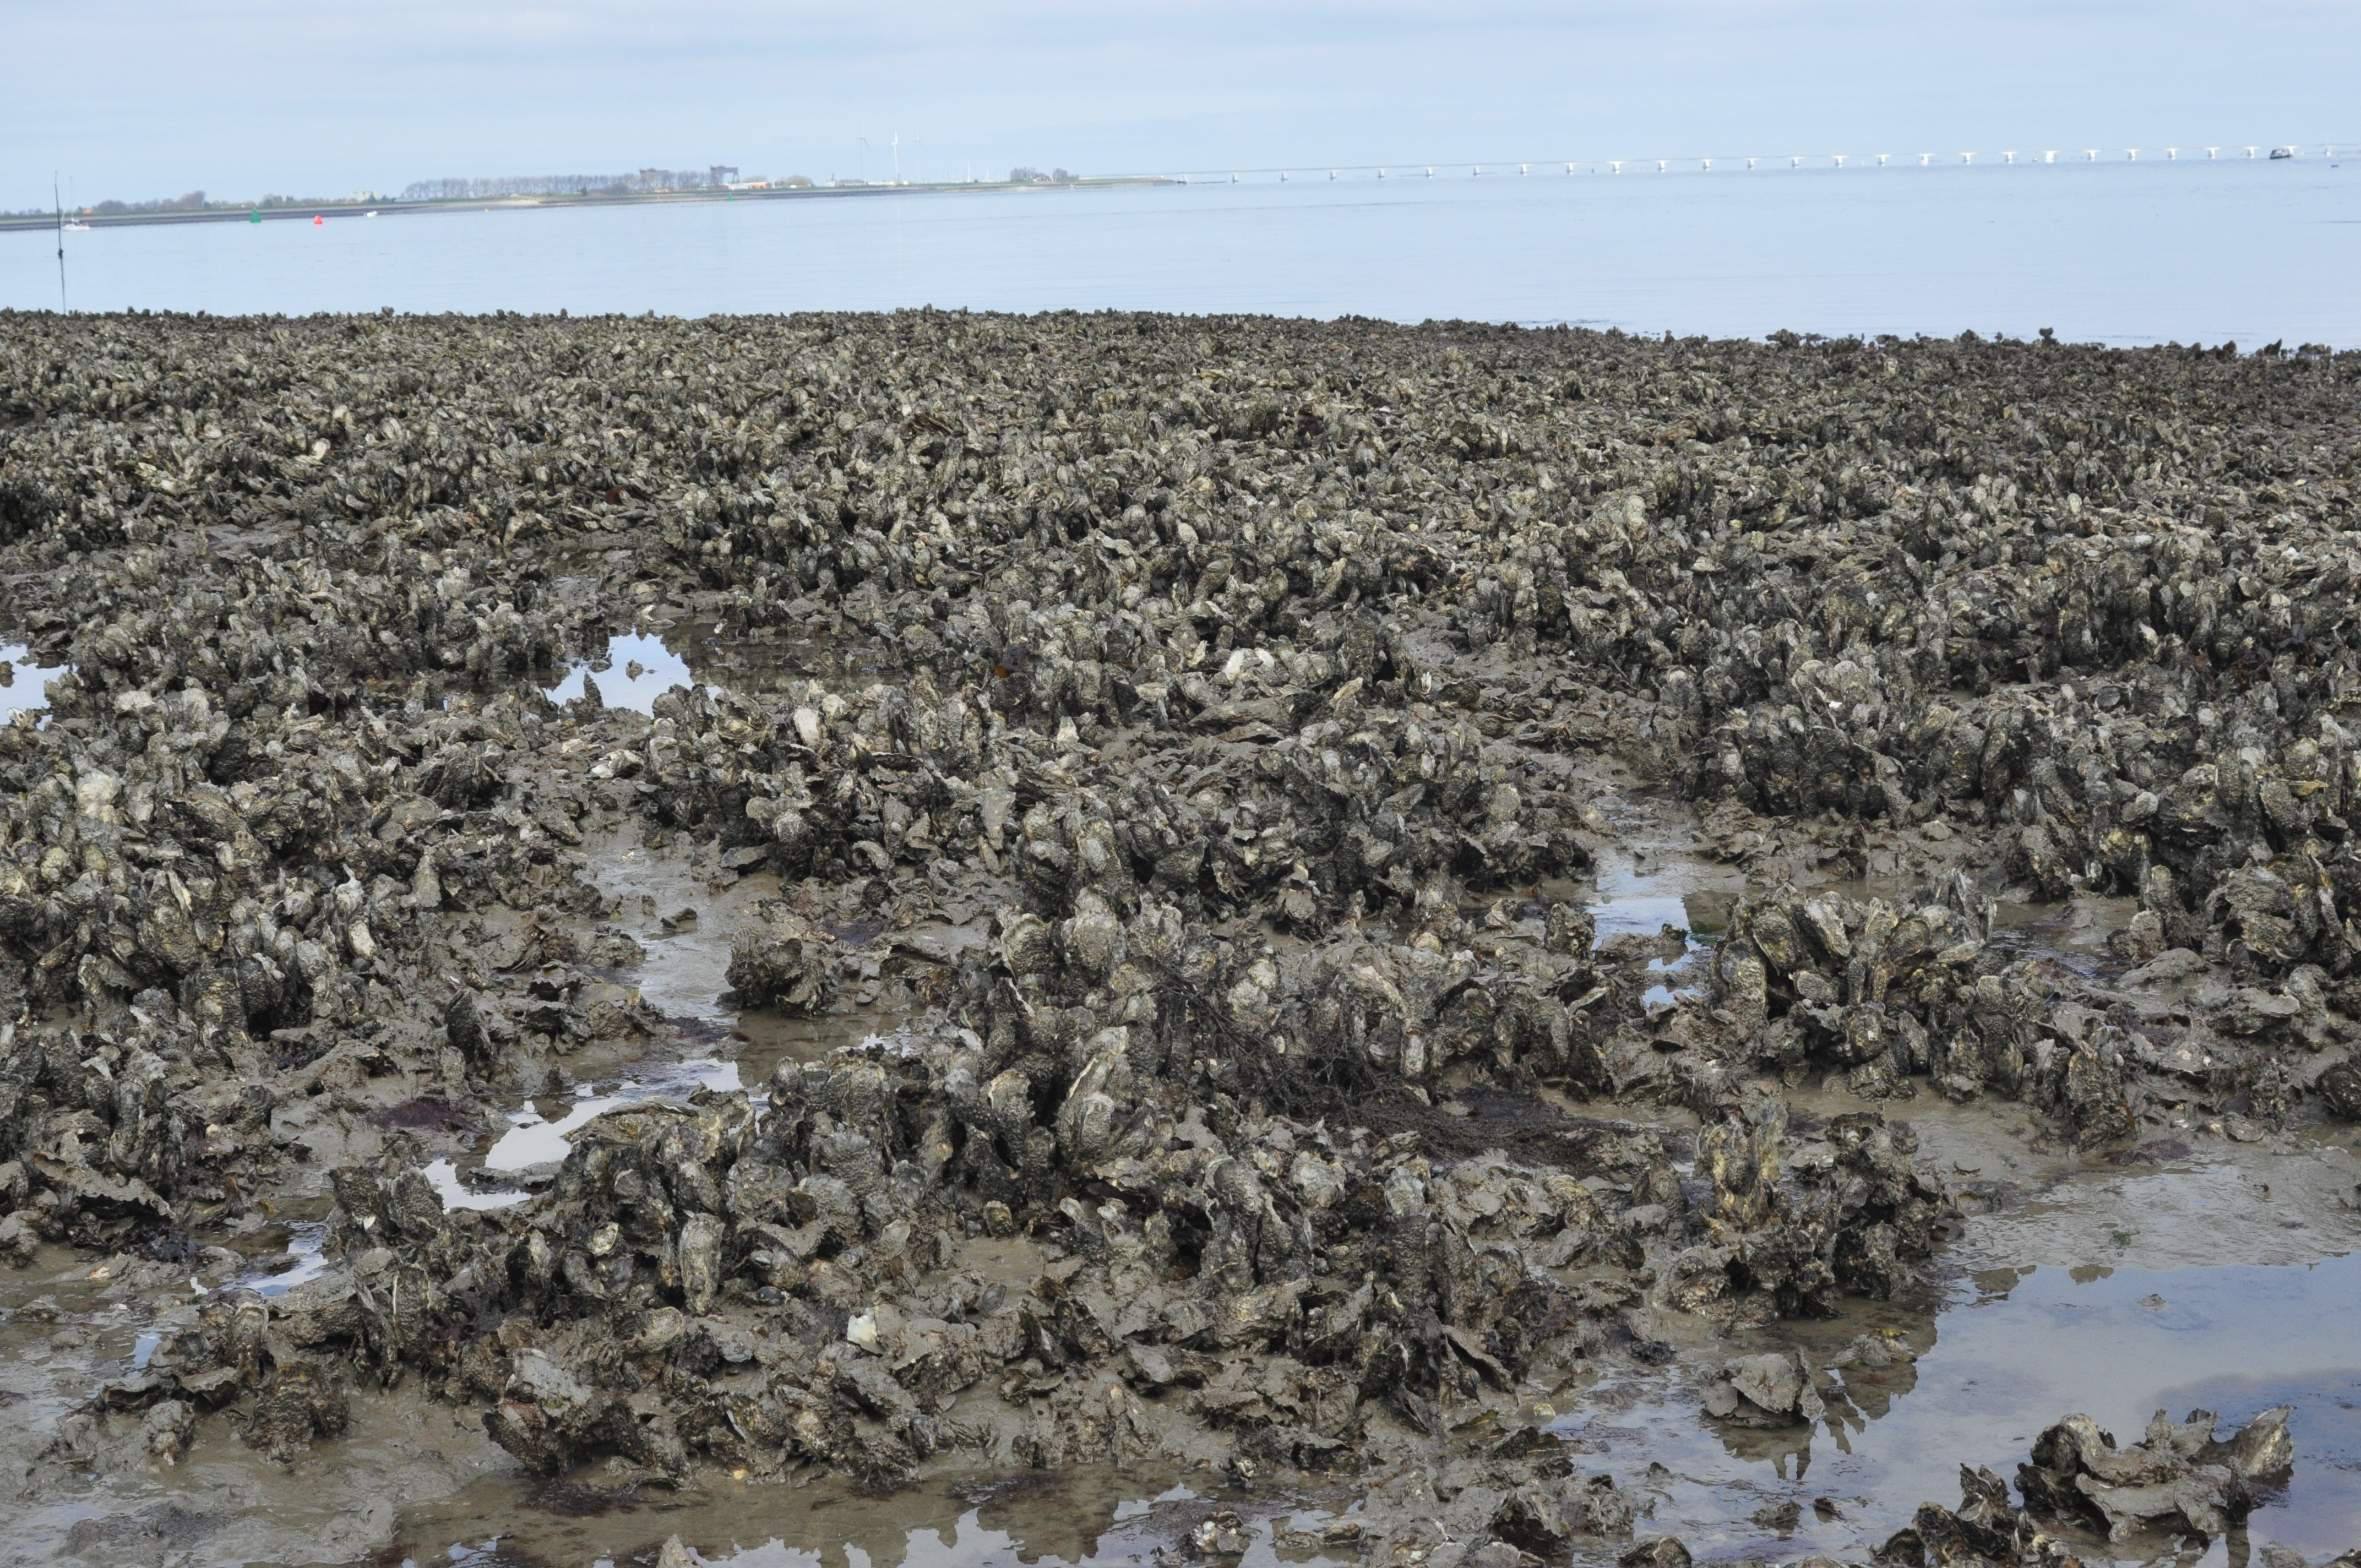
Oysters, oysters
and more oysters
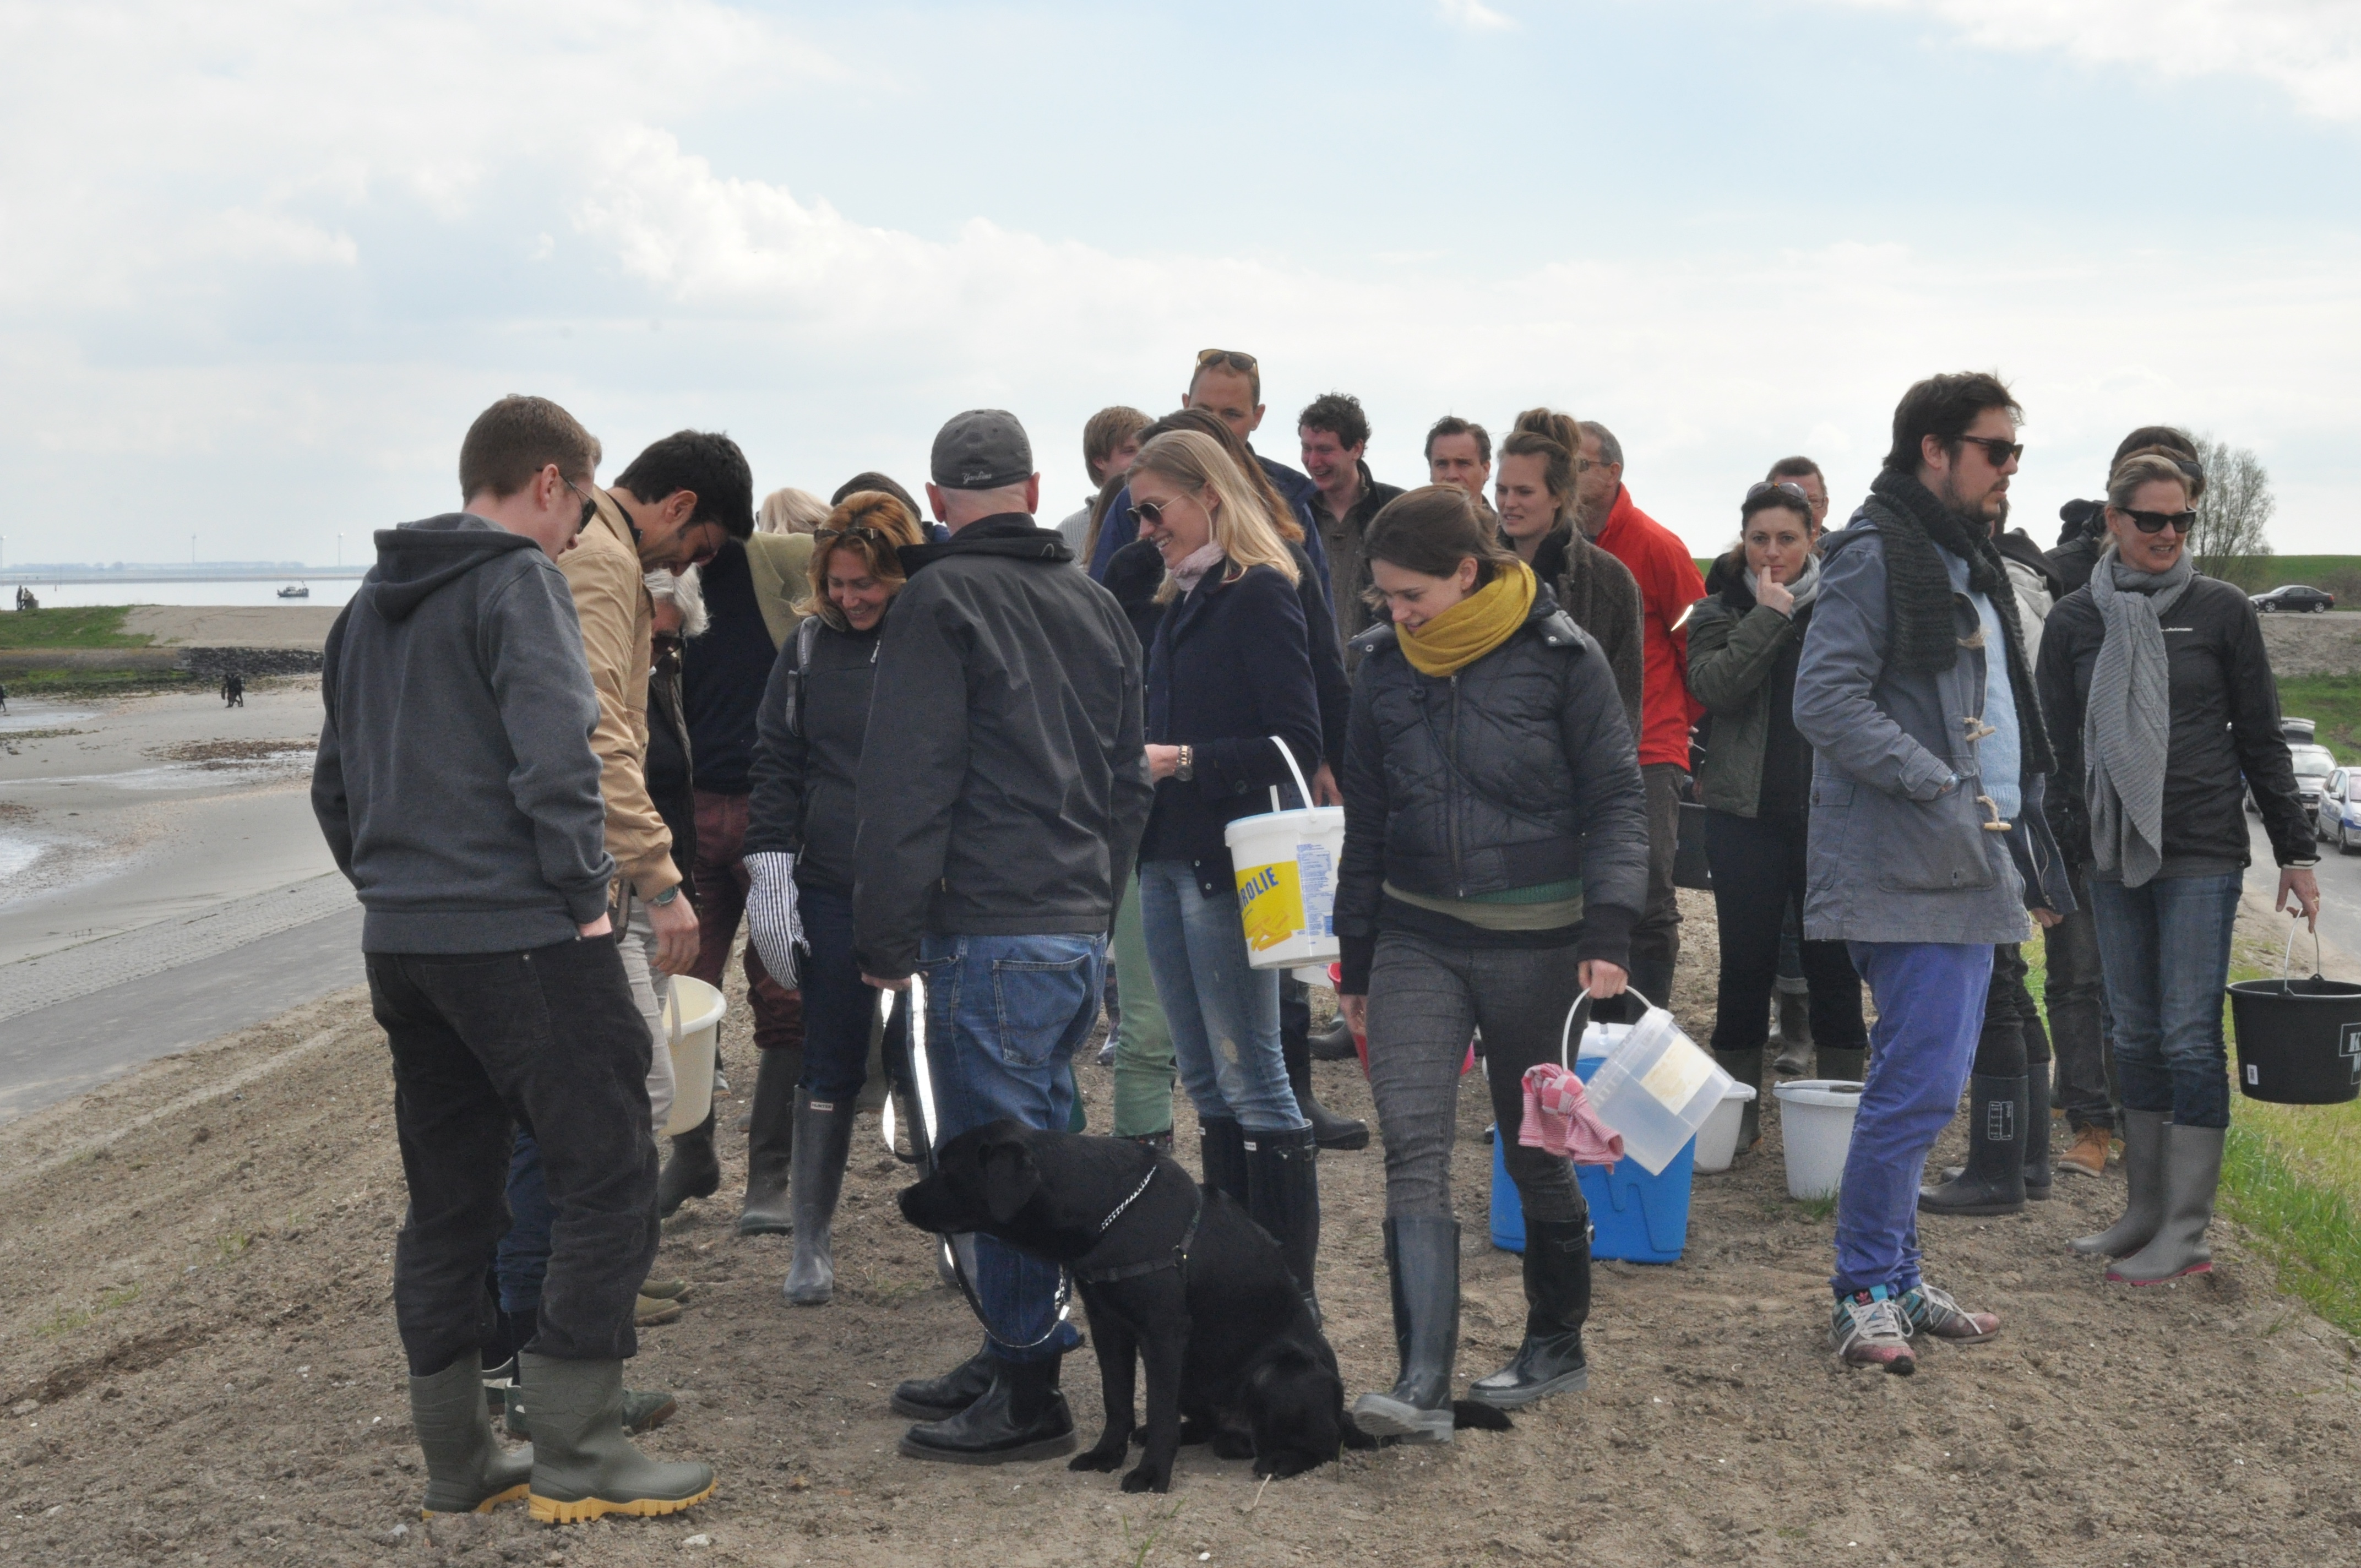
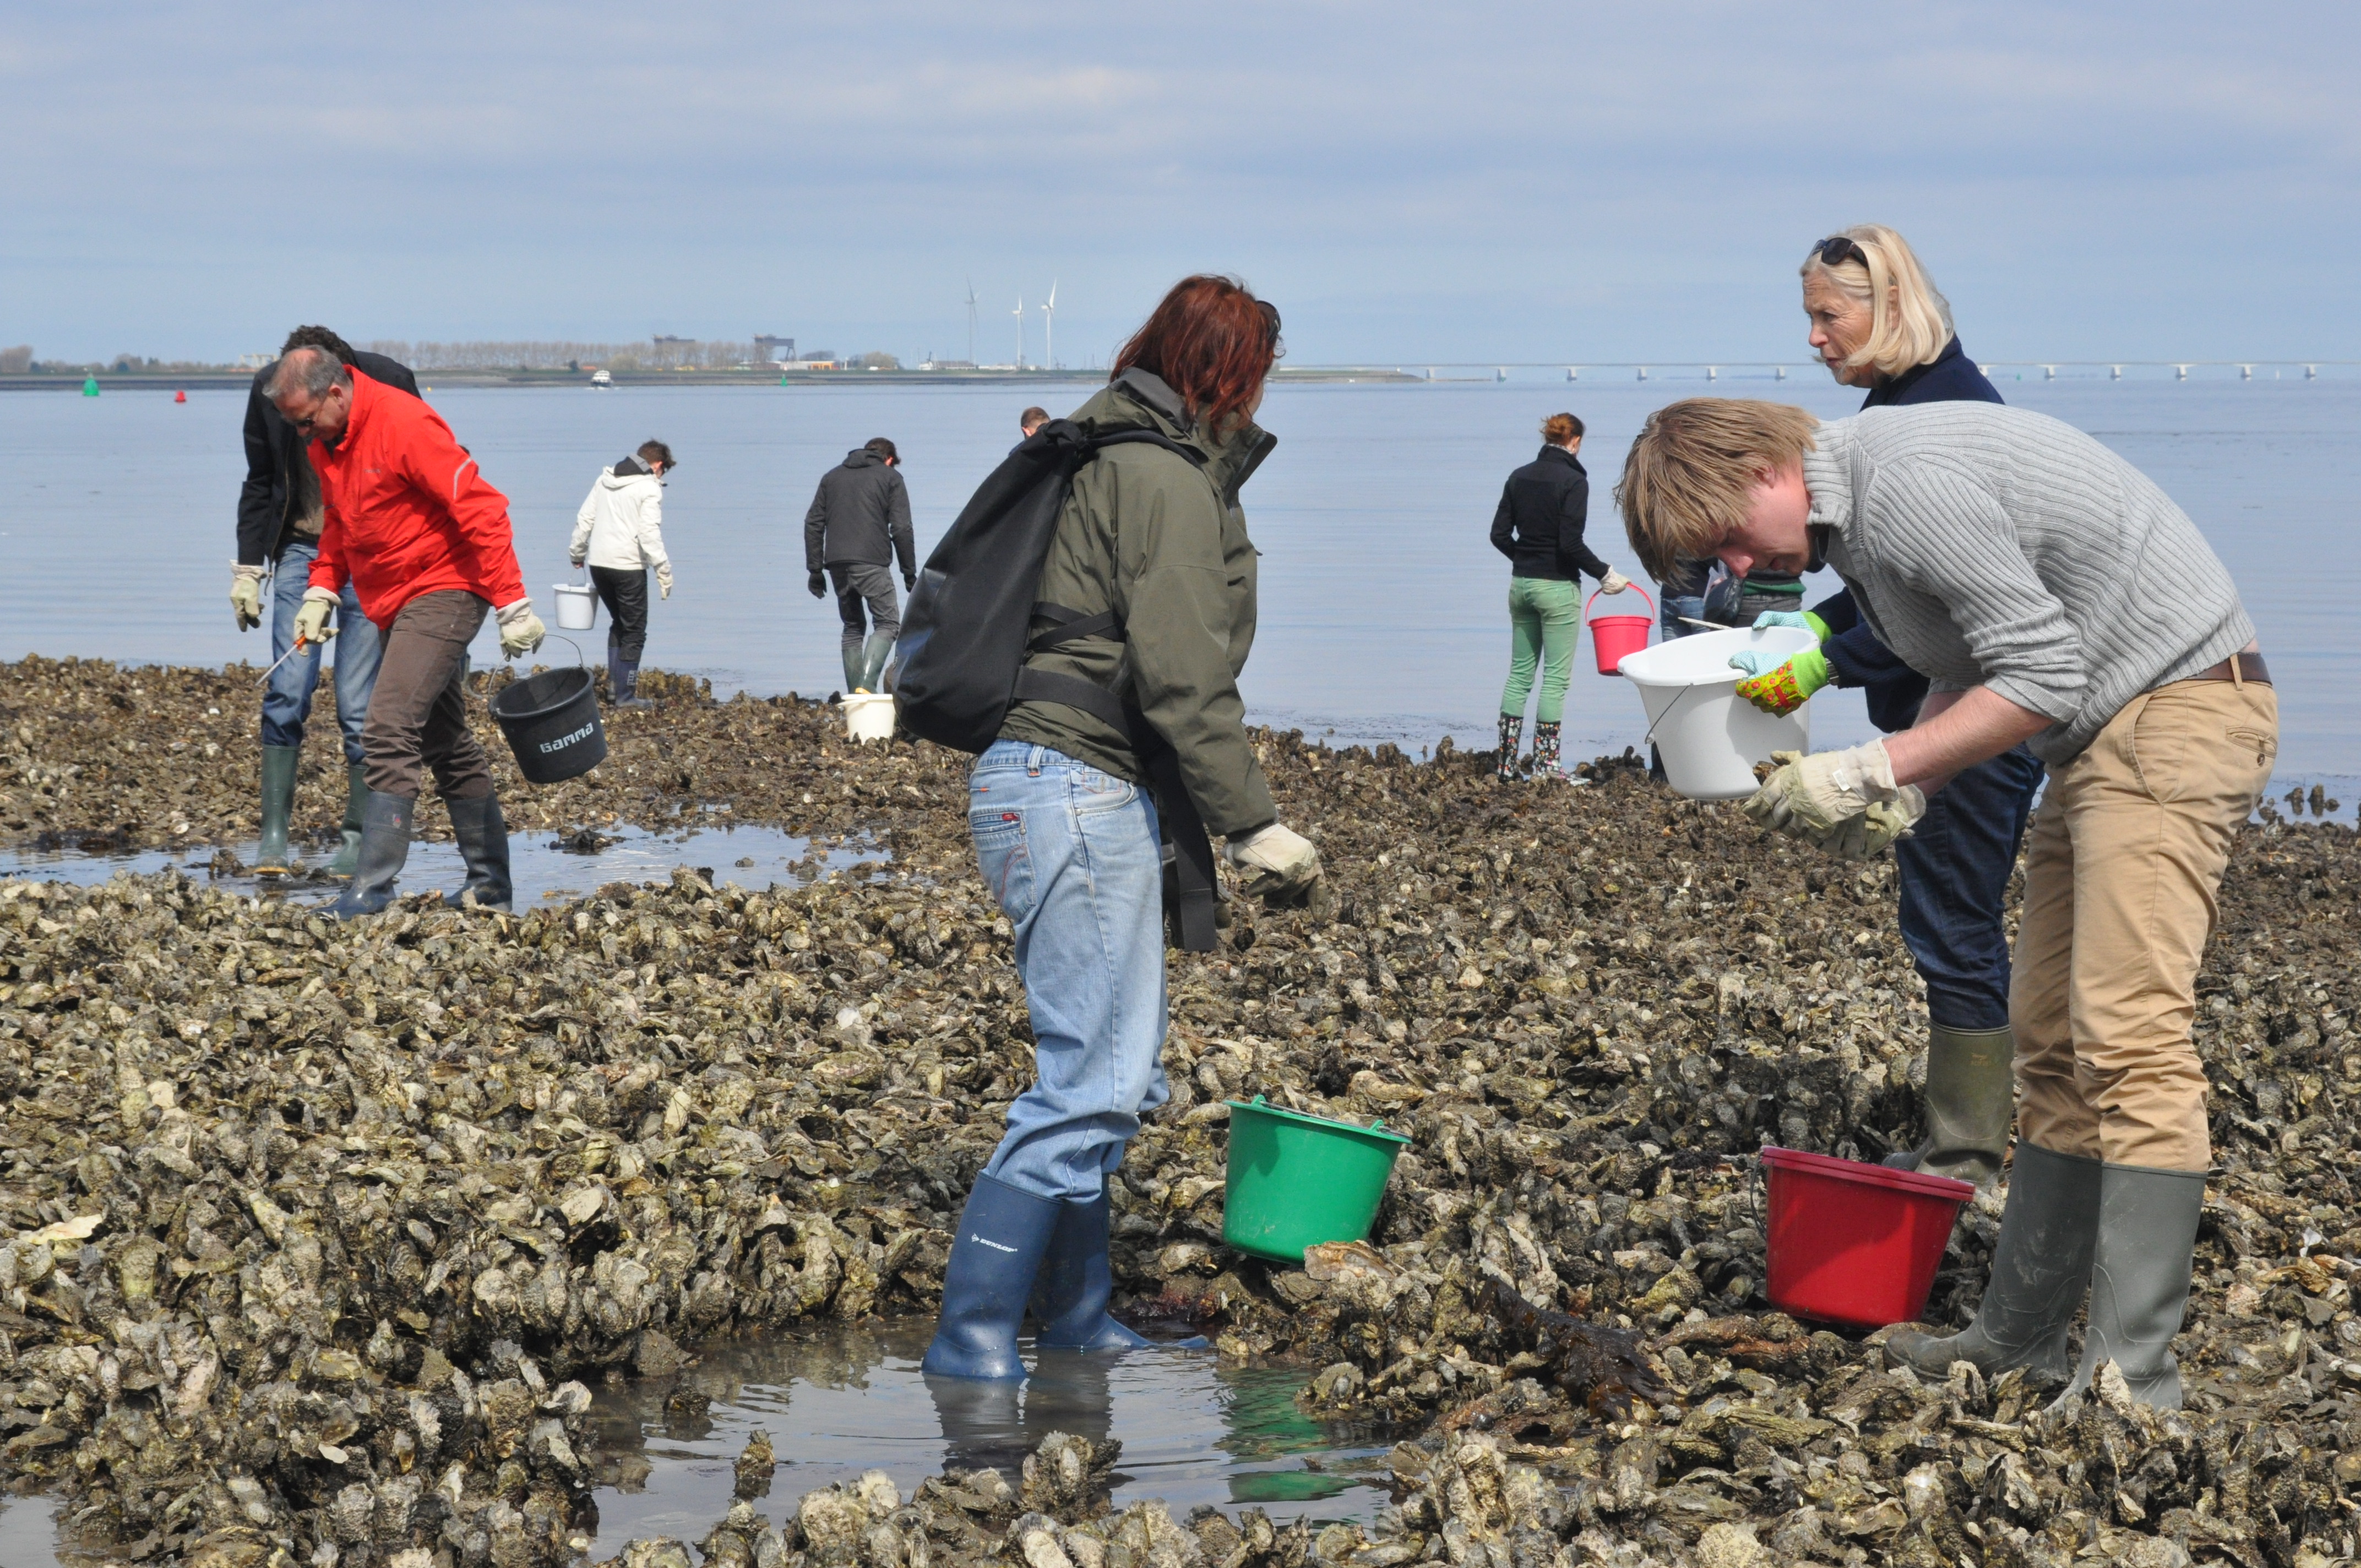
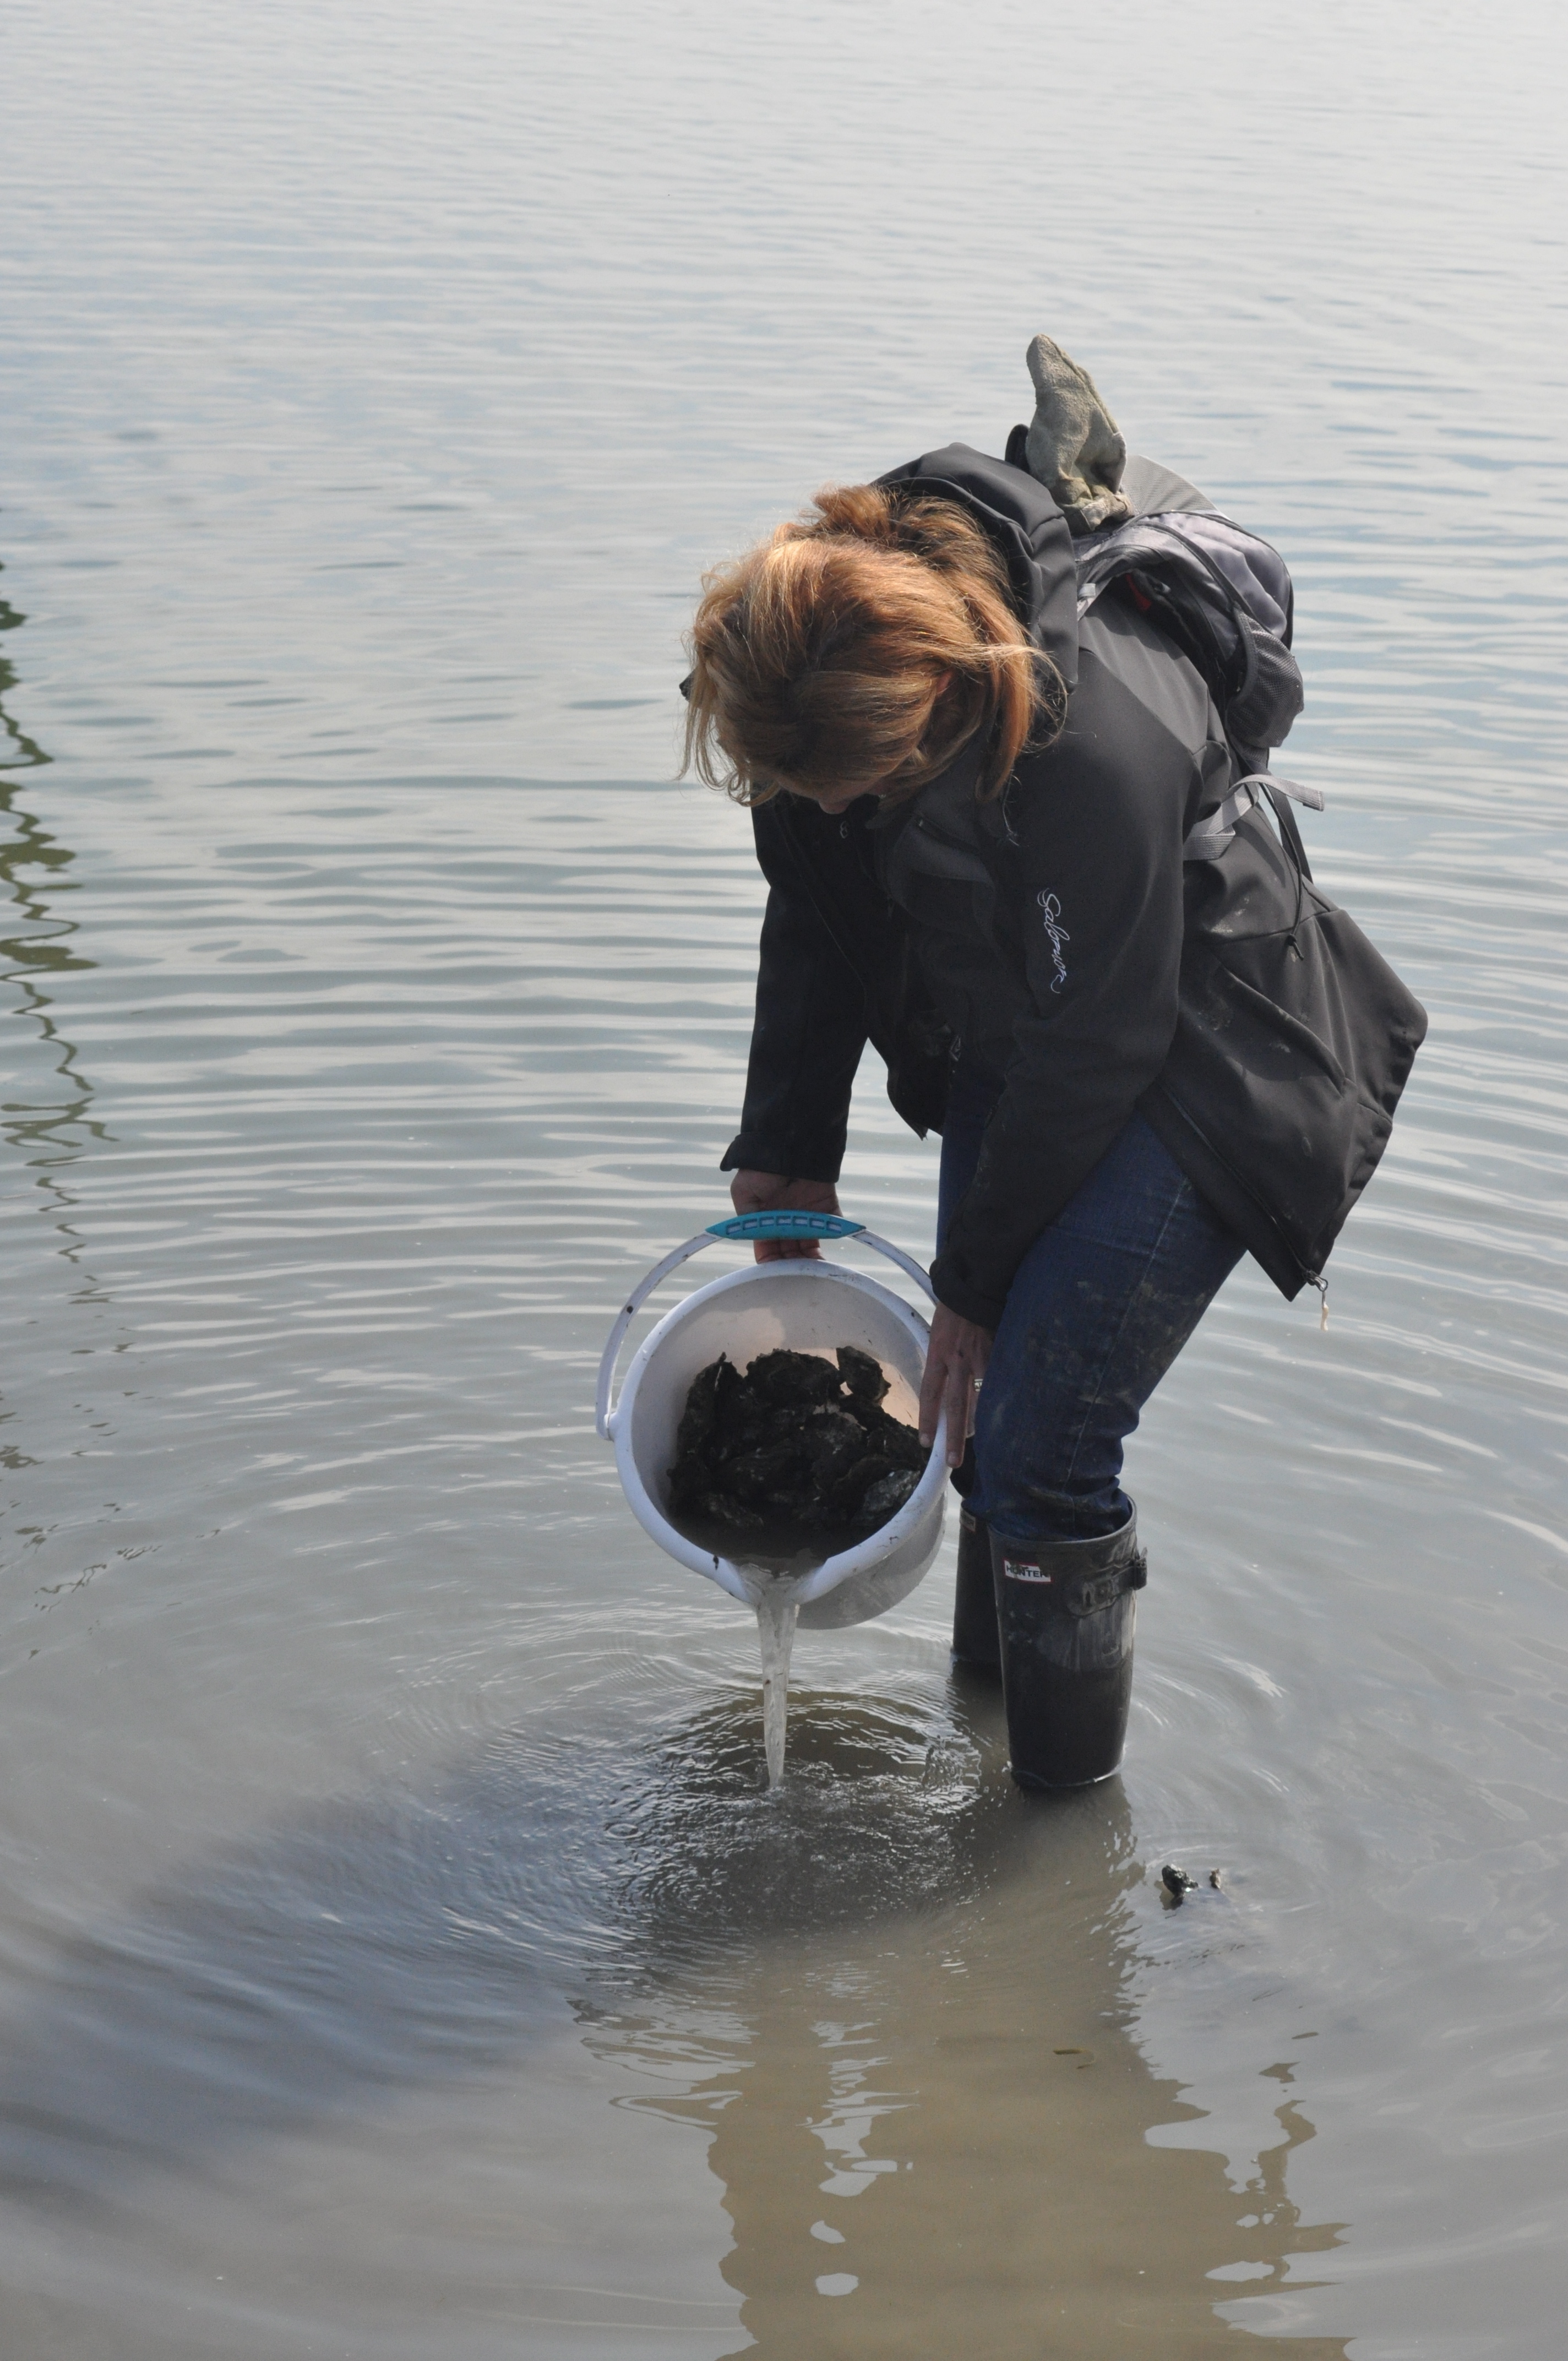
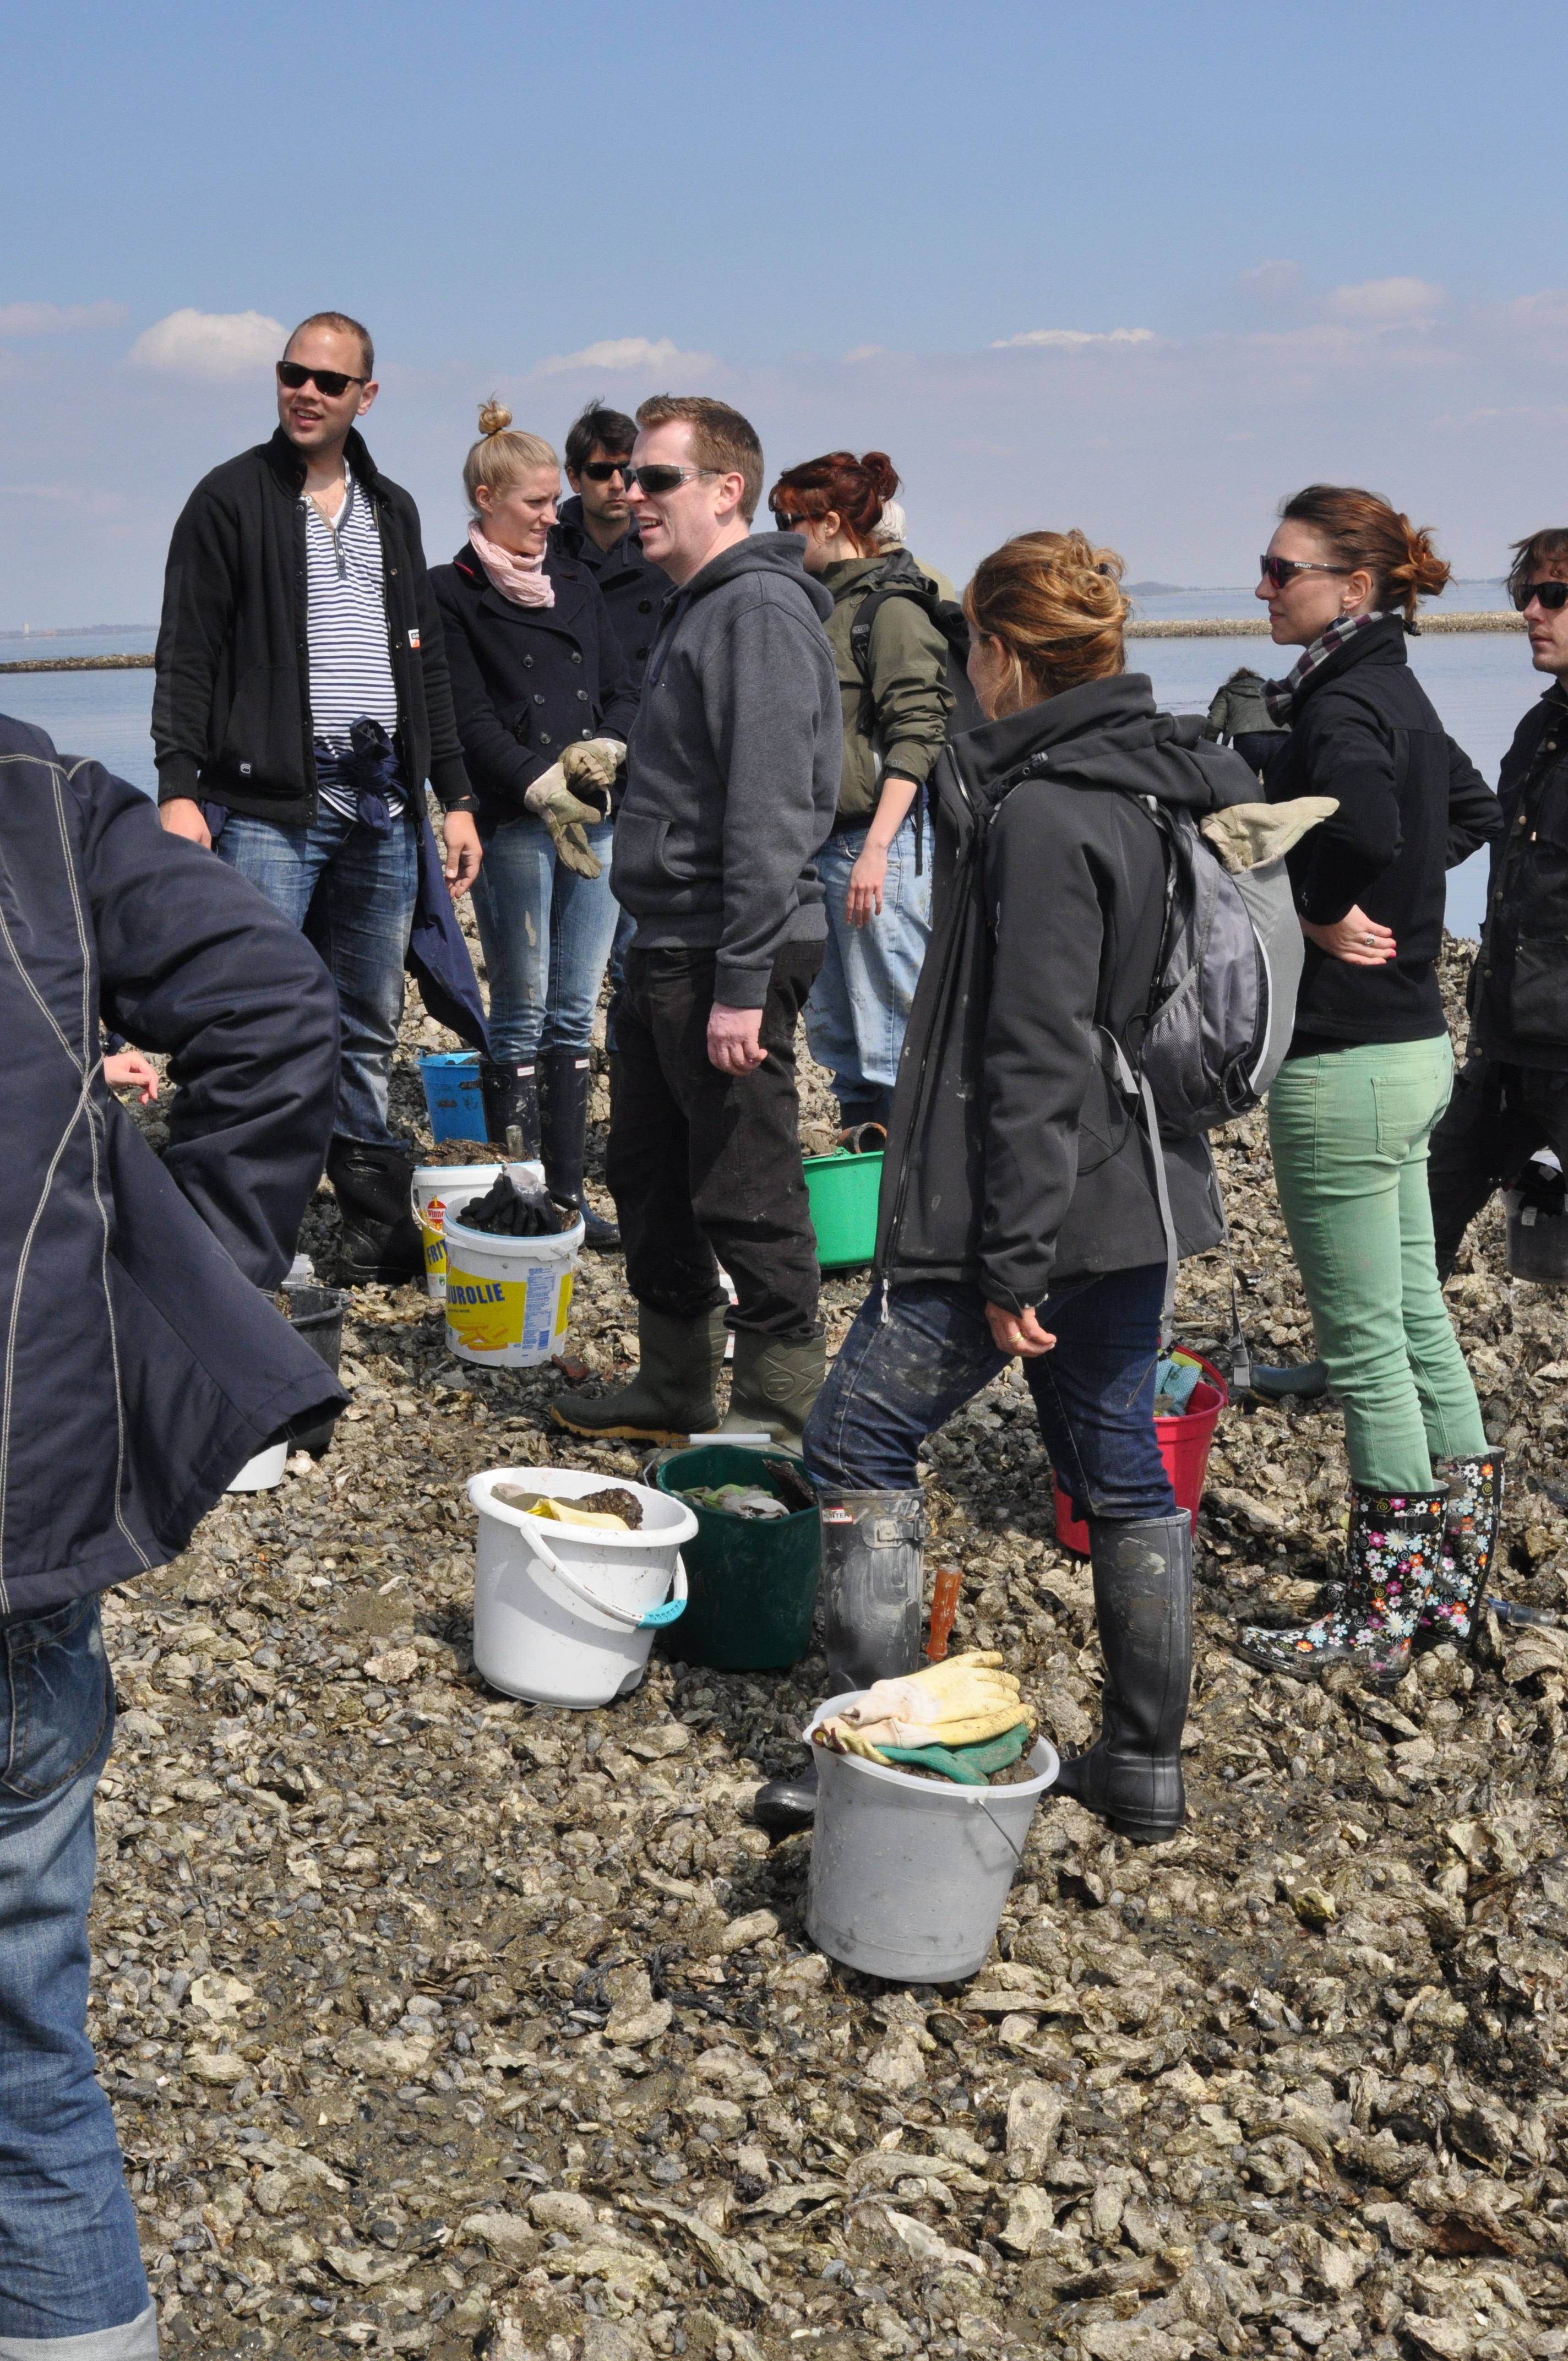
After we returned from the oyster hunt with bucketloads (literally) of oysters, we were ready for the second part of the Oestour: The oyster feast.
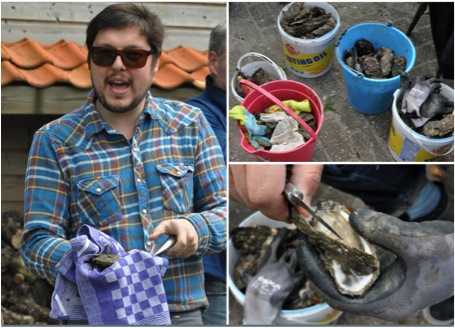
First we were welcomed into the lovely sunny garden of the same cafe we had started that morning, and were given a well-deserved cold drink after our hard work. Once we were all settled, Marcel started explaining to us how we should open an oyster without injuring ourselves. A very vital part of the oyster hunting process in my opinion, because if you do not know what you are doing and just randomly start poking a sharp knife into an oyster, there is a high chance you will be heading straight to the nearest emergency room. However if you follow the following precautionary measures and take some time to practice, you should be fine. This is how it should be done:
Step 1: Put on a glove and take a folded dishtowel into the same hand. The dishtowel provides some extra protection and also helps to secure a firm grip on the oyster.
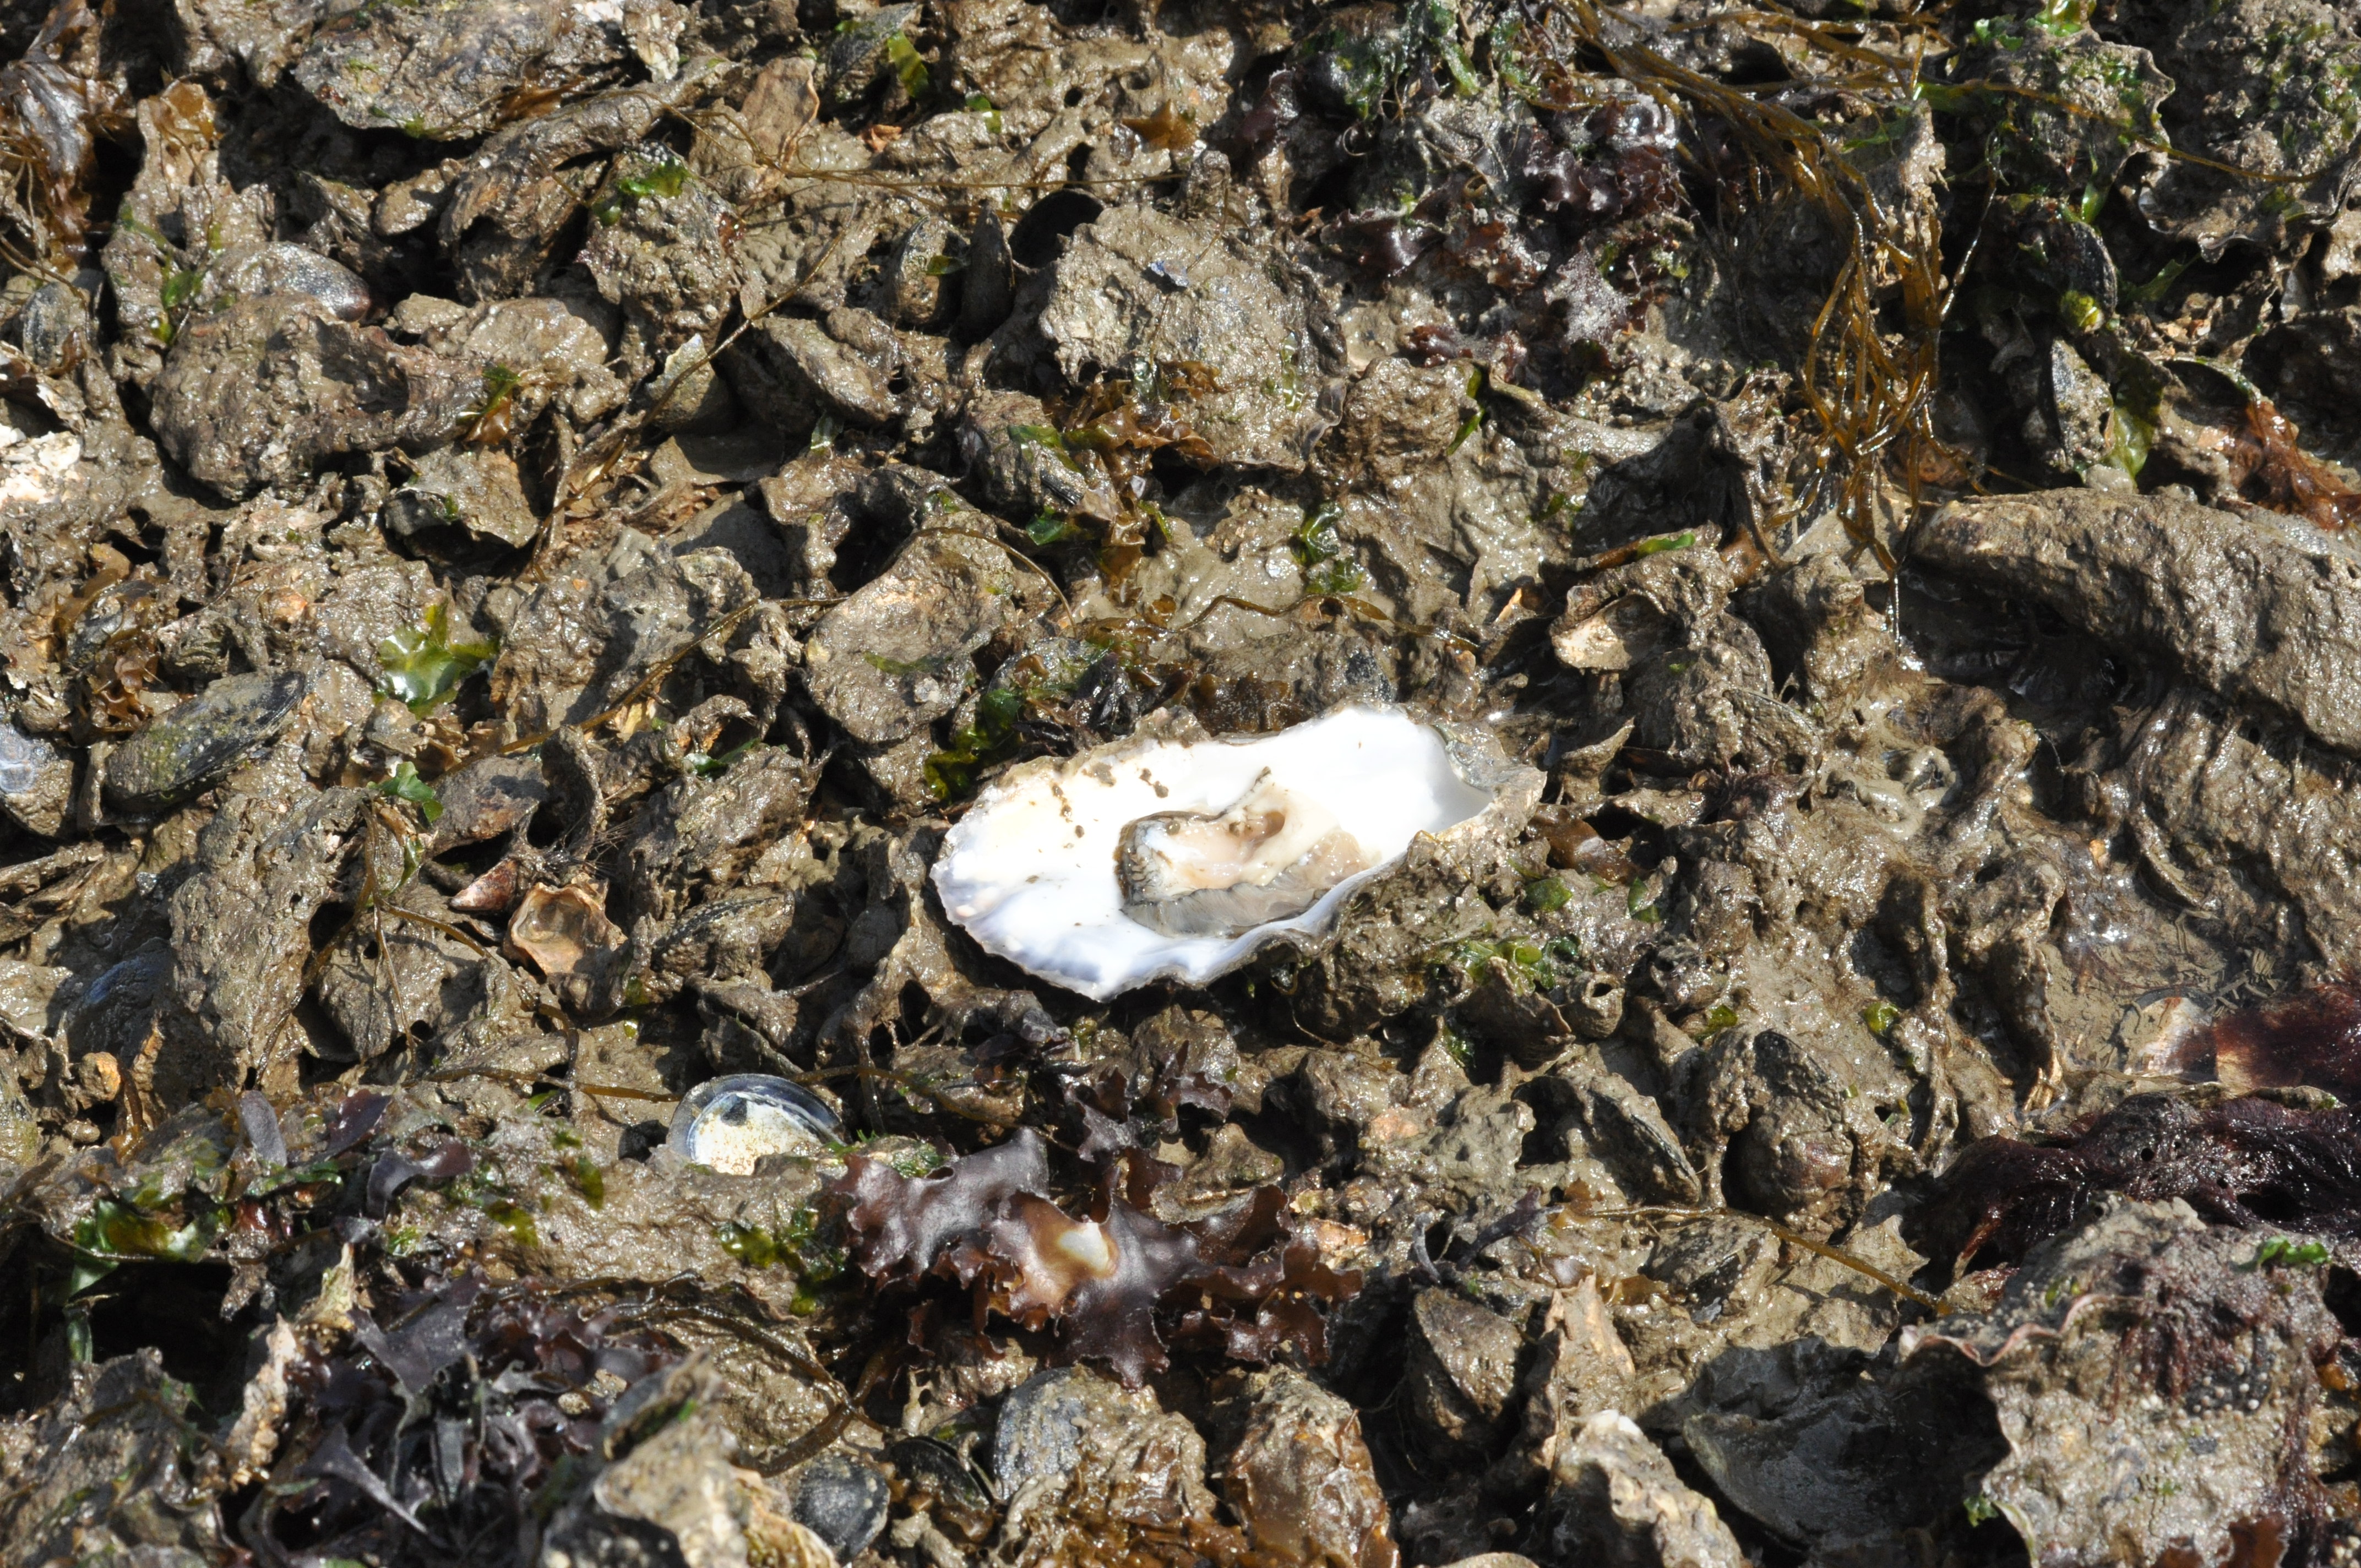
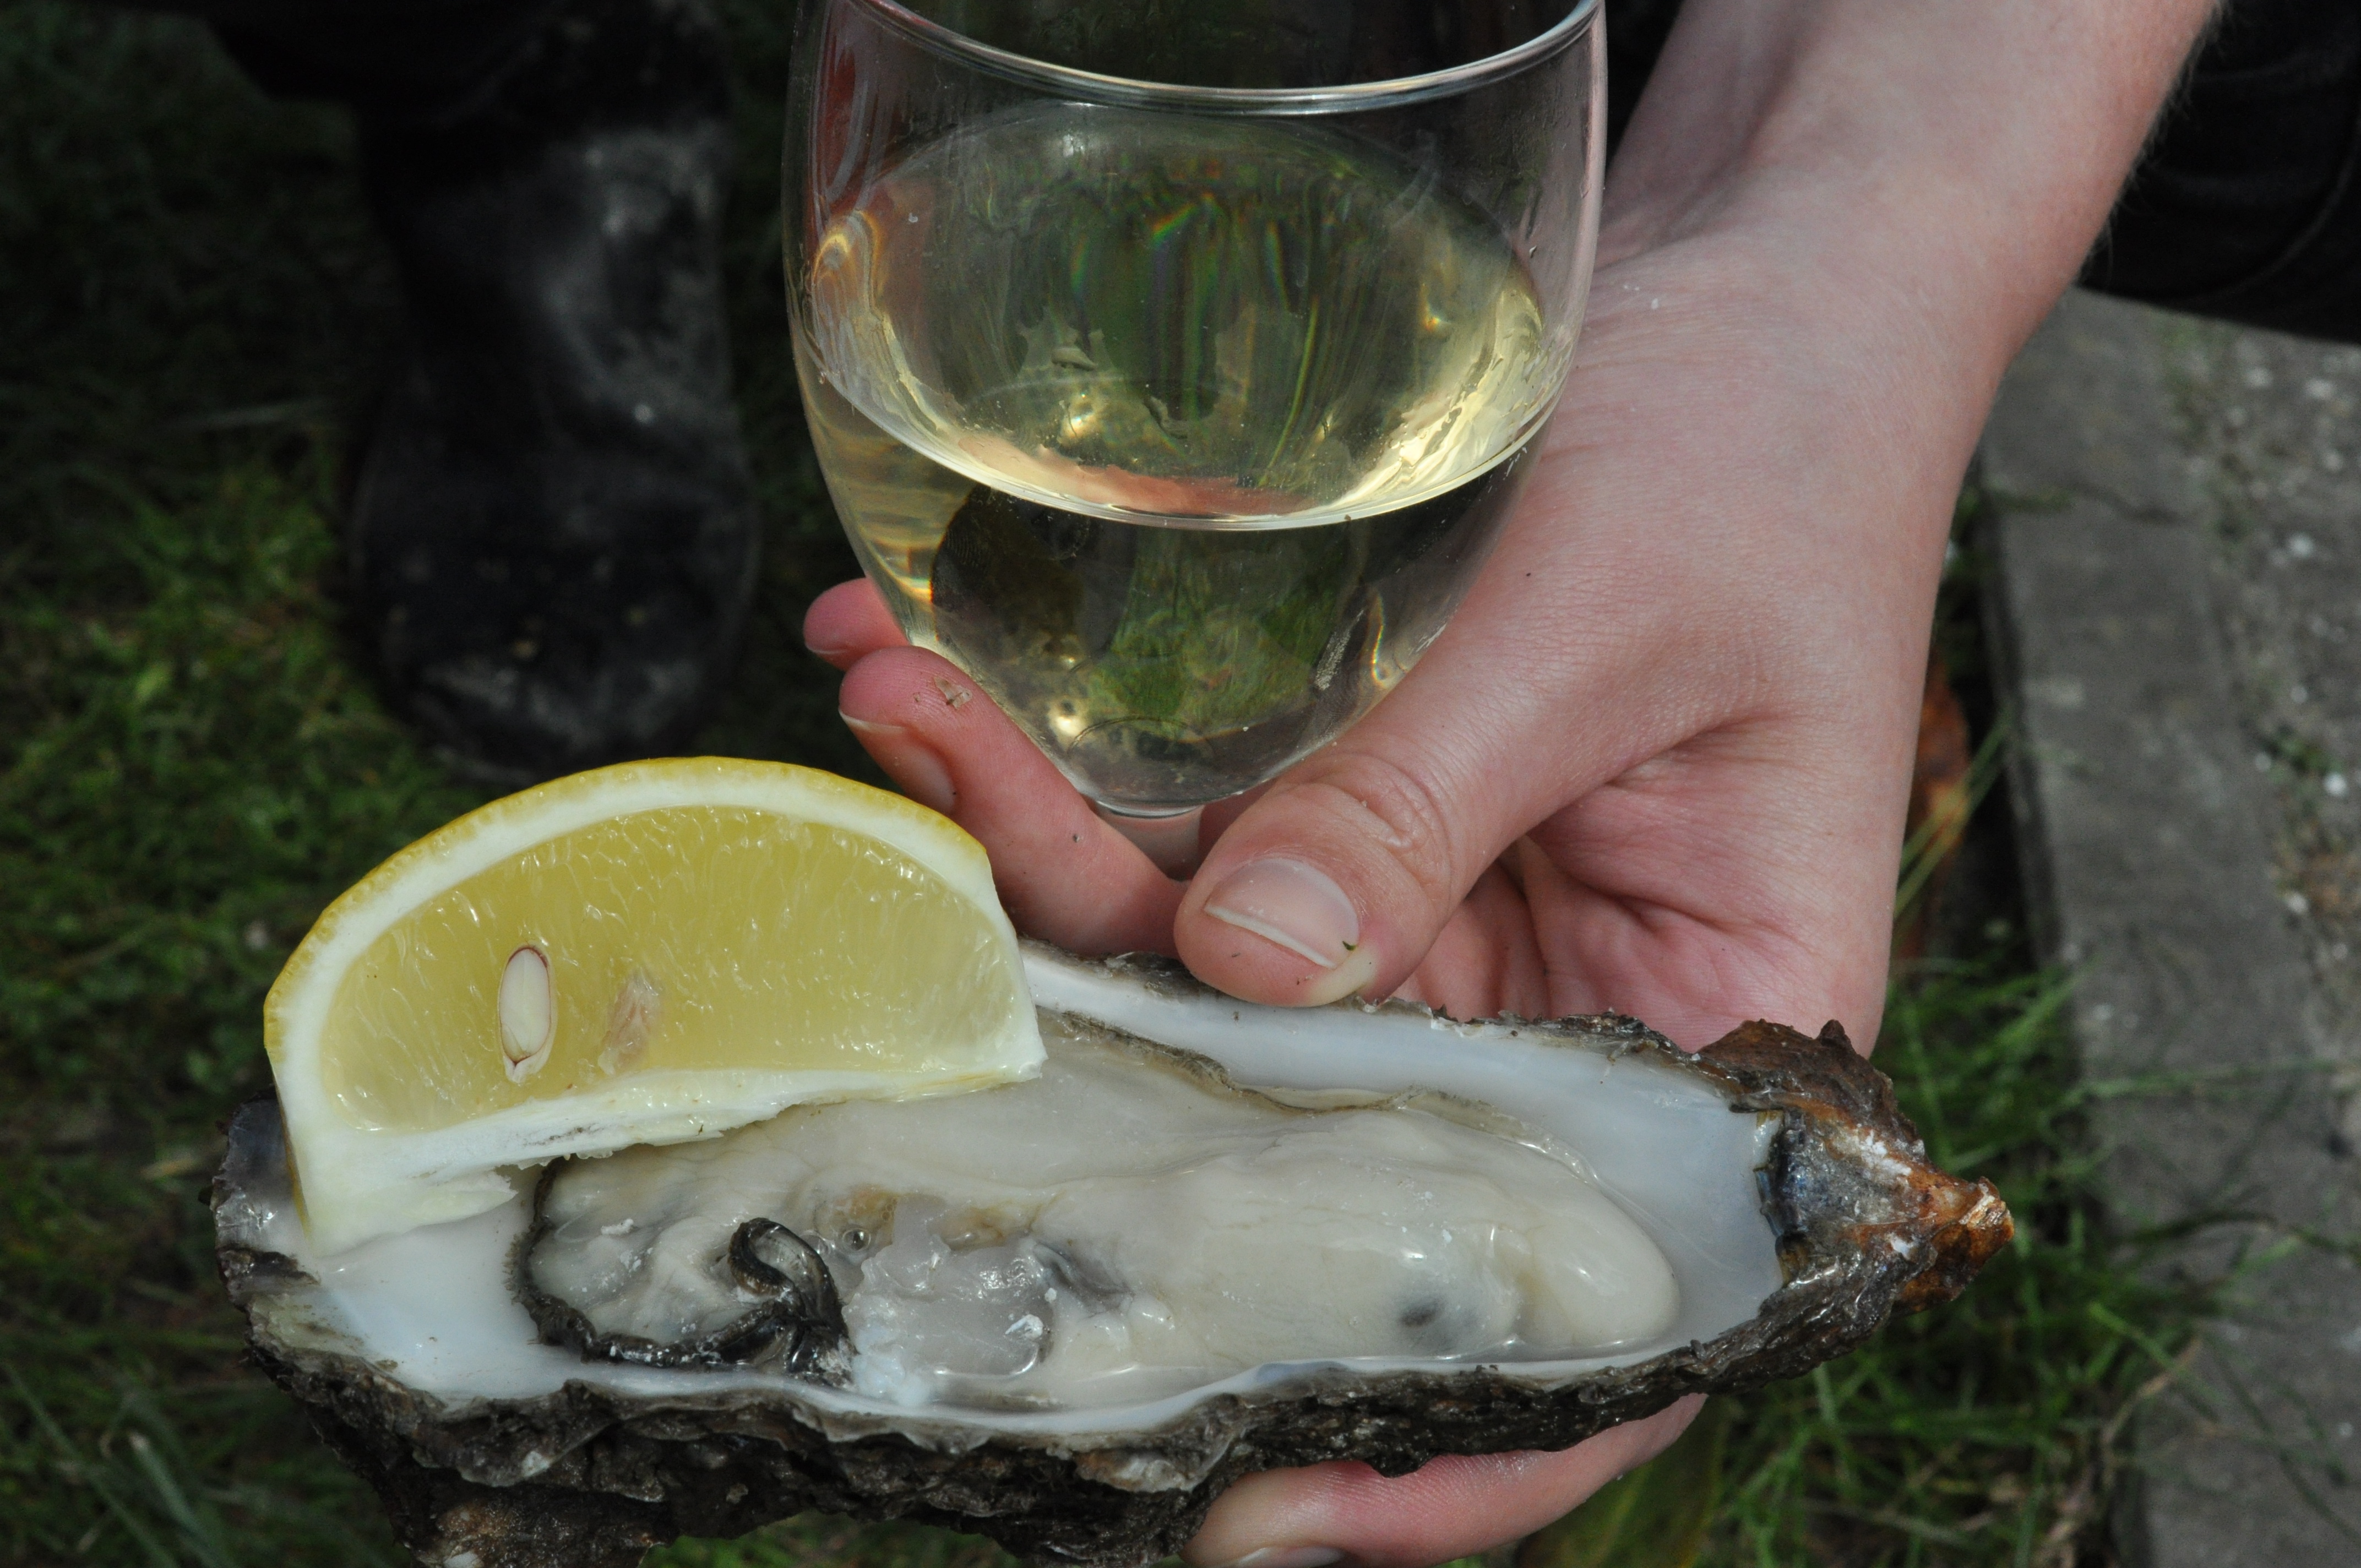
Step 2: Place the oyster in your hand with the flat side up and the hinge (pointy part of the oyster) facing towards you. If you are a lefty you should also have the flat side up, but the round part of the oyster facing towards you instead.
Step 3: For the actual opening of the oyster you can choose between two methods:
Side-entry method: Insert your oyster-knife in the upper right hand corner of the oyster, at 2 o’clock (8 o’clock if you are a lefty), at the point were the two halves of the shells meet. This is were you can find the adductor muscle of the oyster (the muscle responsible for opening and closing the oyster). Once you have inserted your knife at this point, gently push it further into the oyster and start sliding the knife back and forth until the top shell gives a little. Keep the blade of knife pressed against the upper shell while you do this, to avoid cutting into the oyster meat. Once the oyster is cut loose you can twist your knife sideways to open the shell completely.
Hinge-entry method: Insert the knife into the point were the two shells join together (the hinge) then gently wiggle it in until you feel that you are inside the oyster. Then open the oyster by sliding the knife to the ‘ 2 o’clock point ‘ and cut the adductor muscle loose. Make sure you keep the knife pressed against the upper shell so that you do not cut into the oyster meat while you do this. Once the top shell gives a little, twist your knife sideways and open the oyster.
Step 4: Once you have chucked away the top shell, you can cut the bottom part of the adductor muscle which attaches the oyster to the bottom of its shell. Once the oyster is loose, you are good to go!
How to open an oyster properly?
Besides the two above mentioned methods we also learned that there is an alternative method which I would like to call the ‘lazy method’: Also known as the barbecue!
If the oysters are too big to open without cracking the shell in half, or they are just stubborn and refuse to open for no particular reason, you can still eat them if you place them on the barbecue for 3-5 minutes (depending on their size). With this method the oysters will cook in their own fluid and open themselves when they are done. Besides the fact that this method requires no knife-effort and is therefore by far the safest option, it is also very delicious.
Apart from the closed oysters, we also prepared some opened oysters on the barbecue.
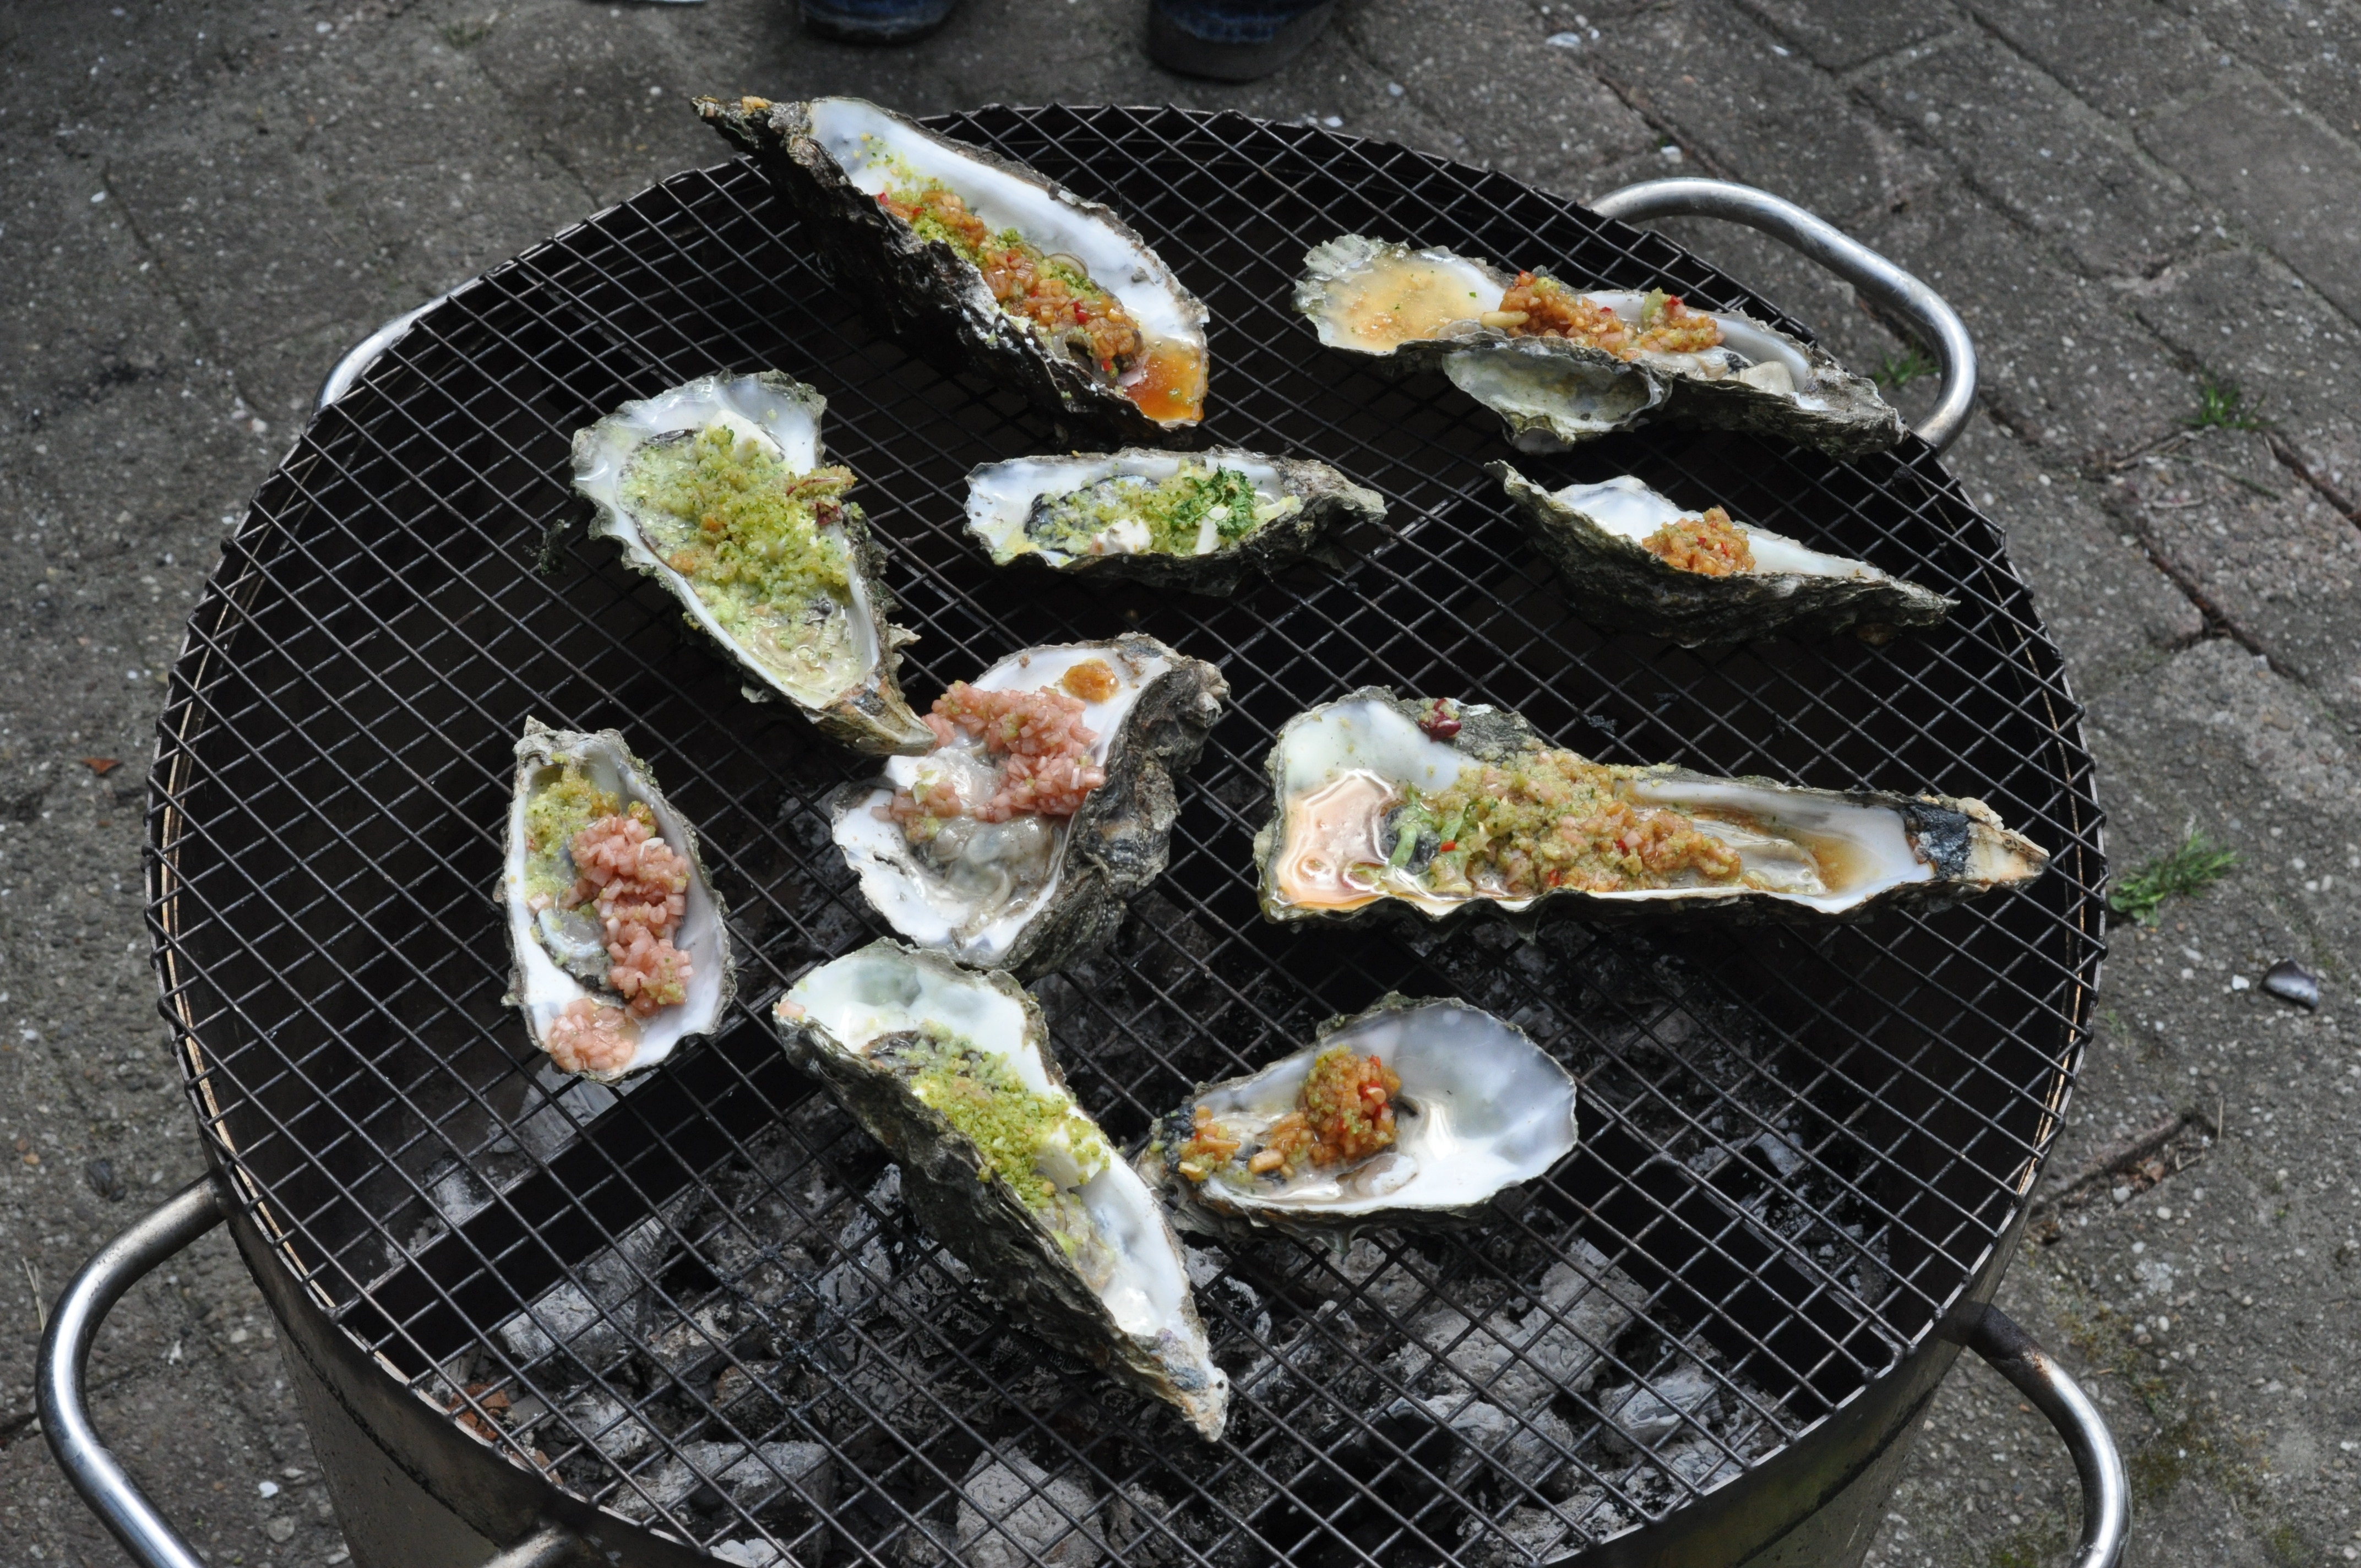
Barbecued oysters
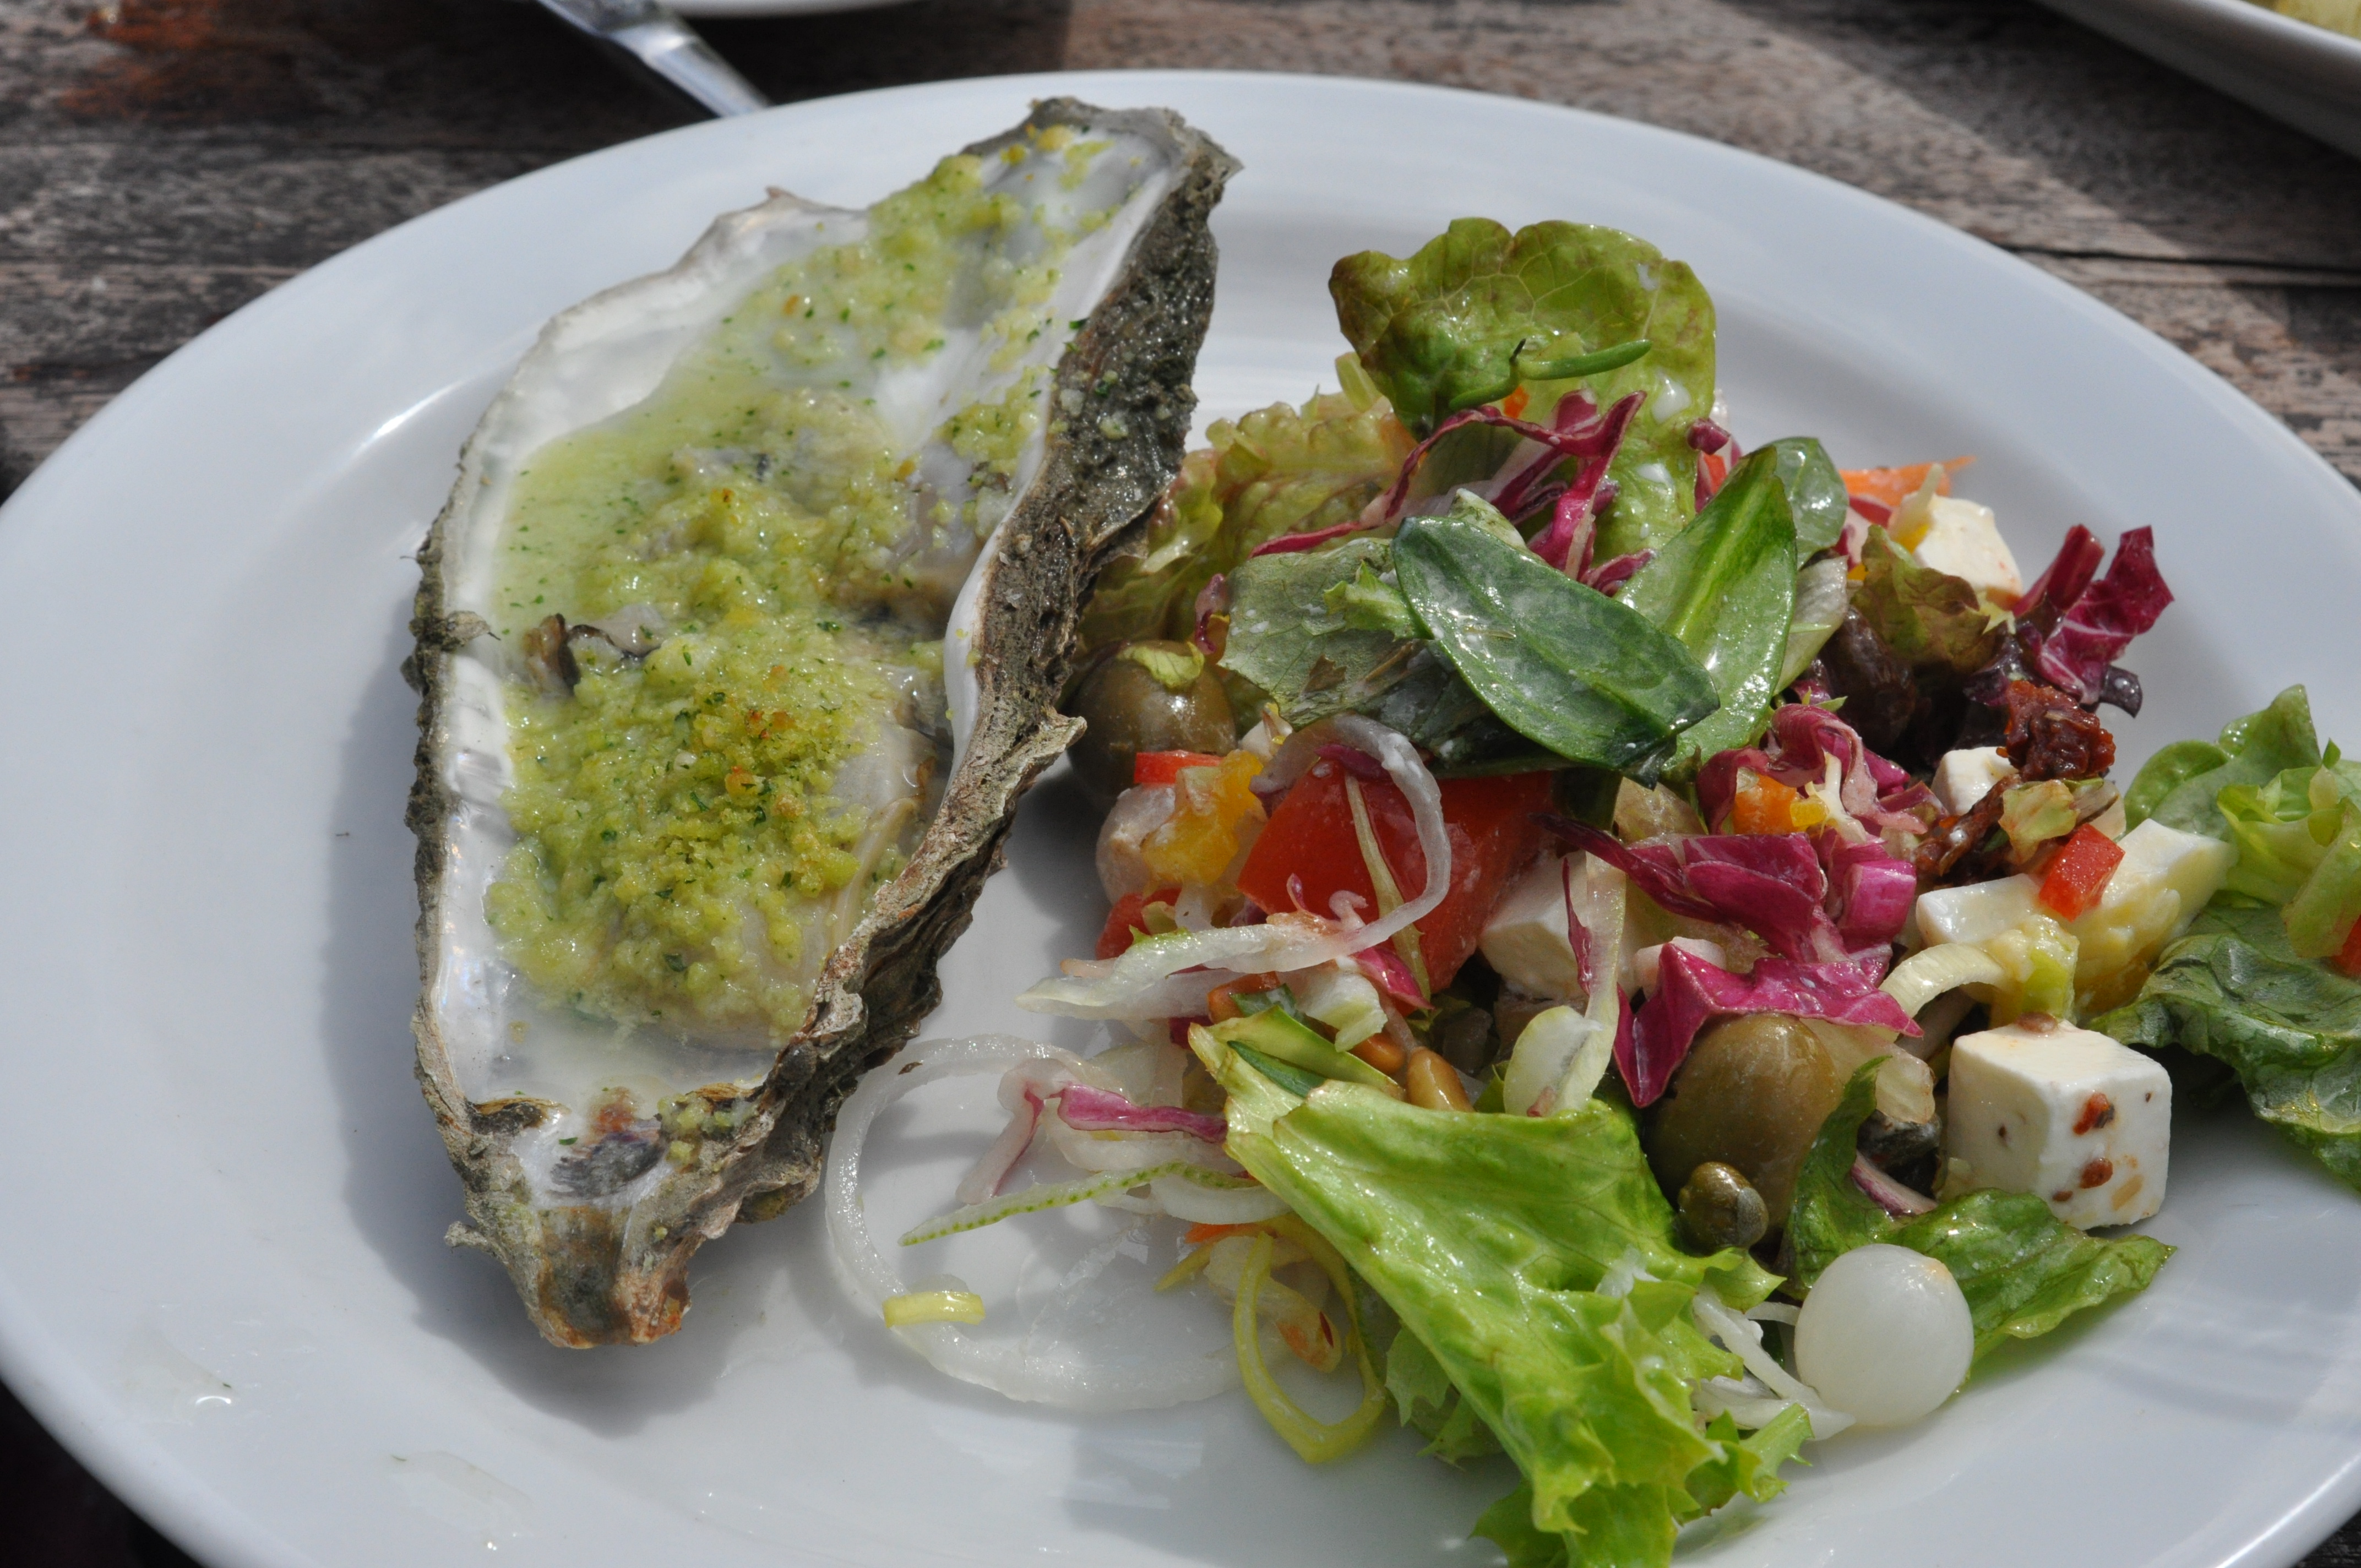
Grilled breadcrumb oyster
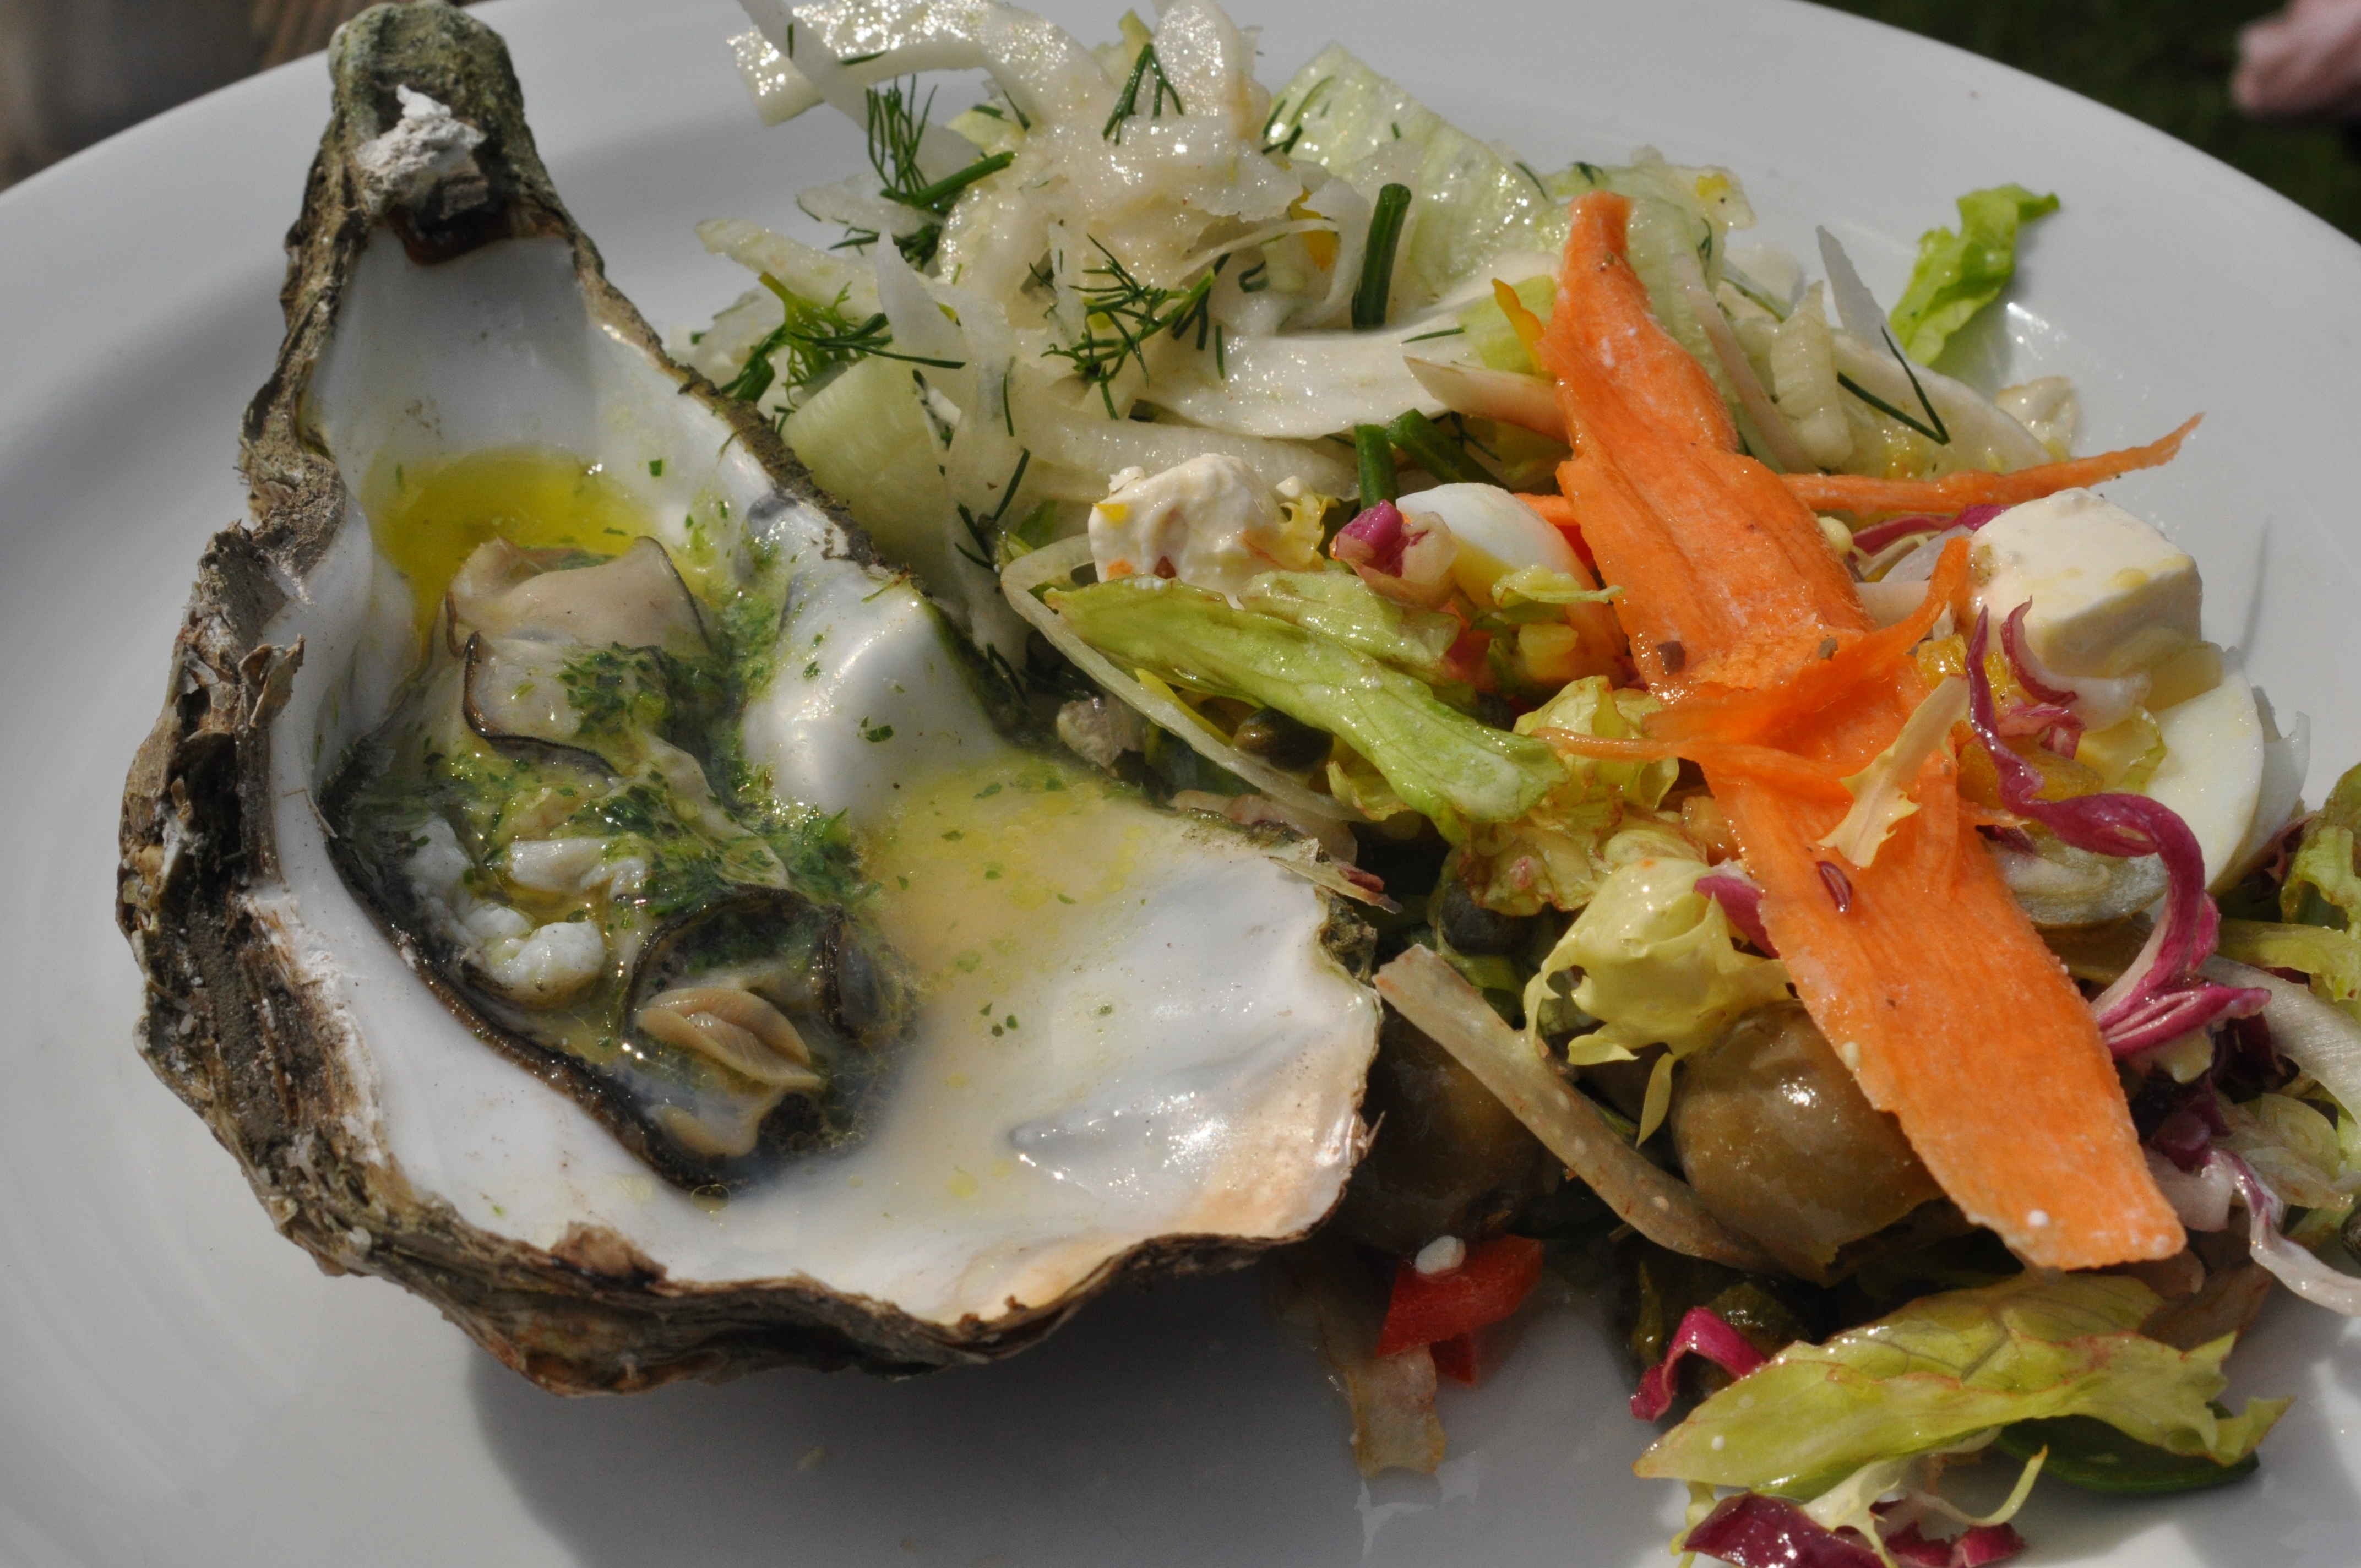
Garlic butter oyster with salad
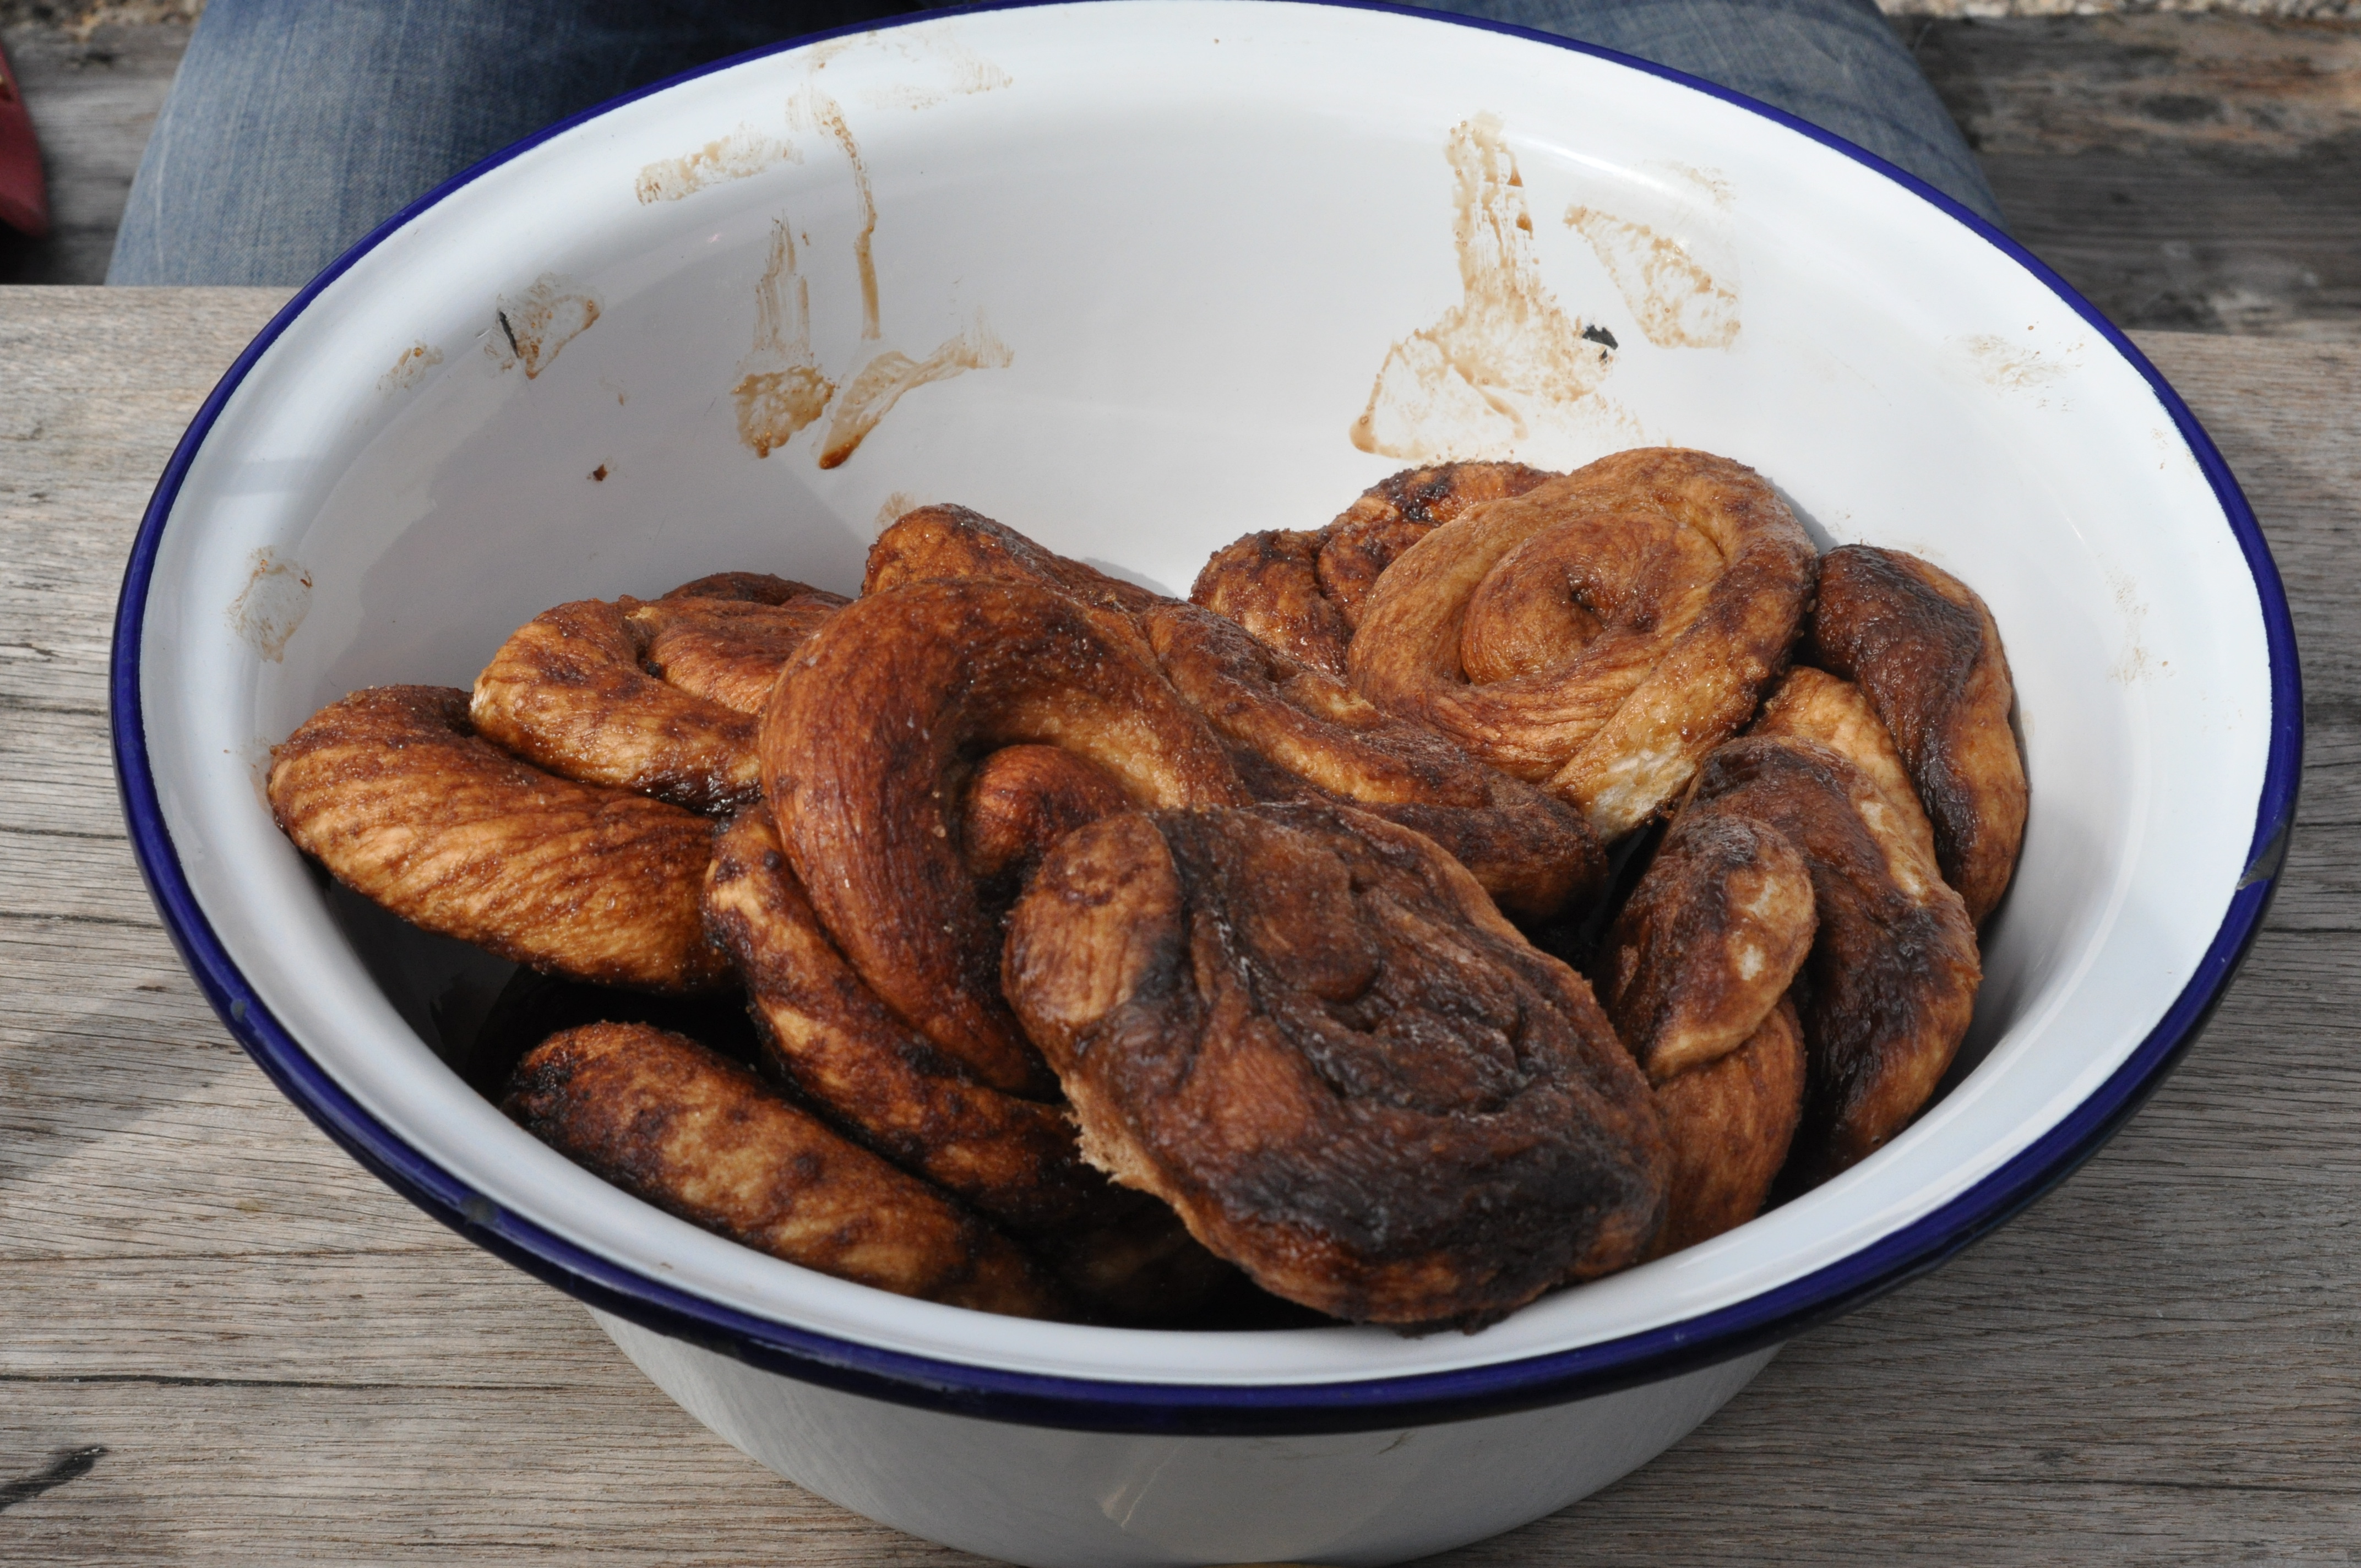
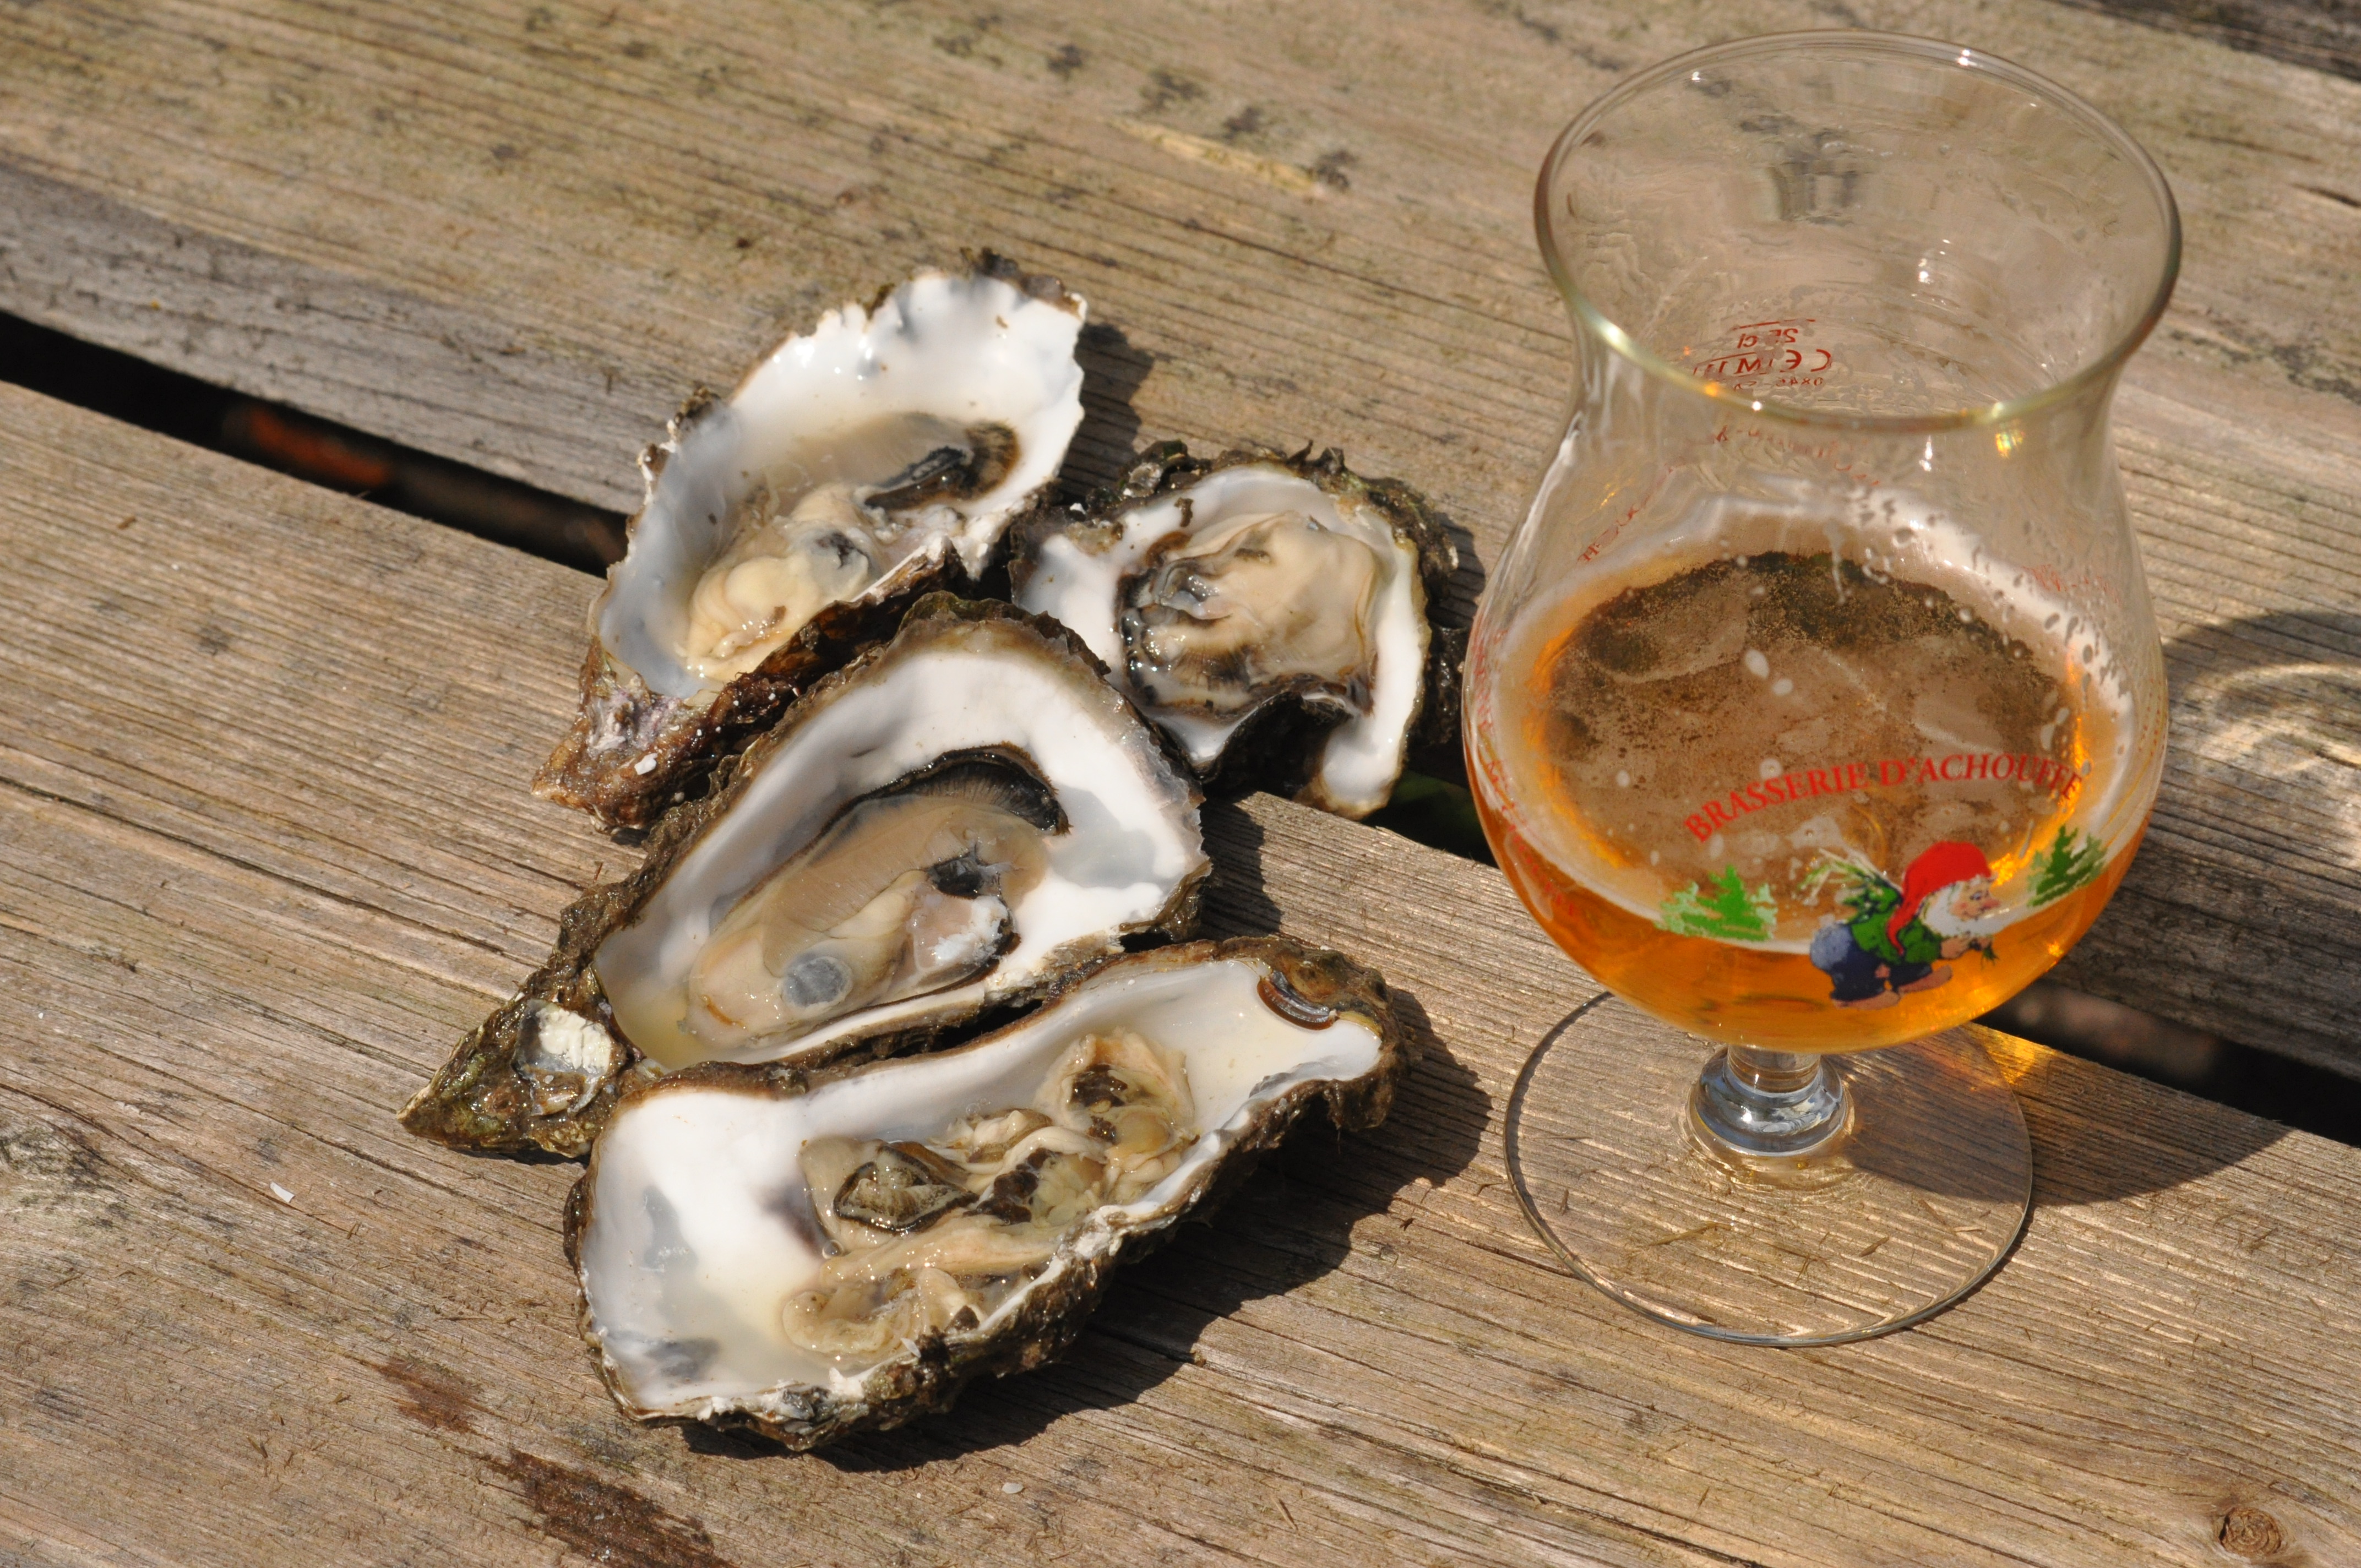
The people from the Oestour also prepared a couple delicious salads, different sorts of bread and a variety of toppings/dressings so that we could try different flavor combinations. This was great, because no matter how much you like raw oysters, after eating 5- 10 oysters your taste buds are ready for something else.
We could choose between a delicious herbed breadcrumb-topping, garlic butter and a classic French shallot and a red-wine vinegar dressing (called mignonette in French). They had also made a dressing with soy sauce, a combination I had never tried before, but which was surprisingly tasty. Some people put the soy sauce dressing on their barbecued oyster but I personally liked it more on a raw oyster. Below you can find the recipe:
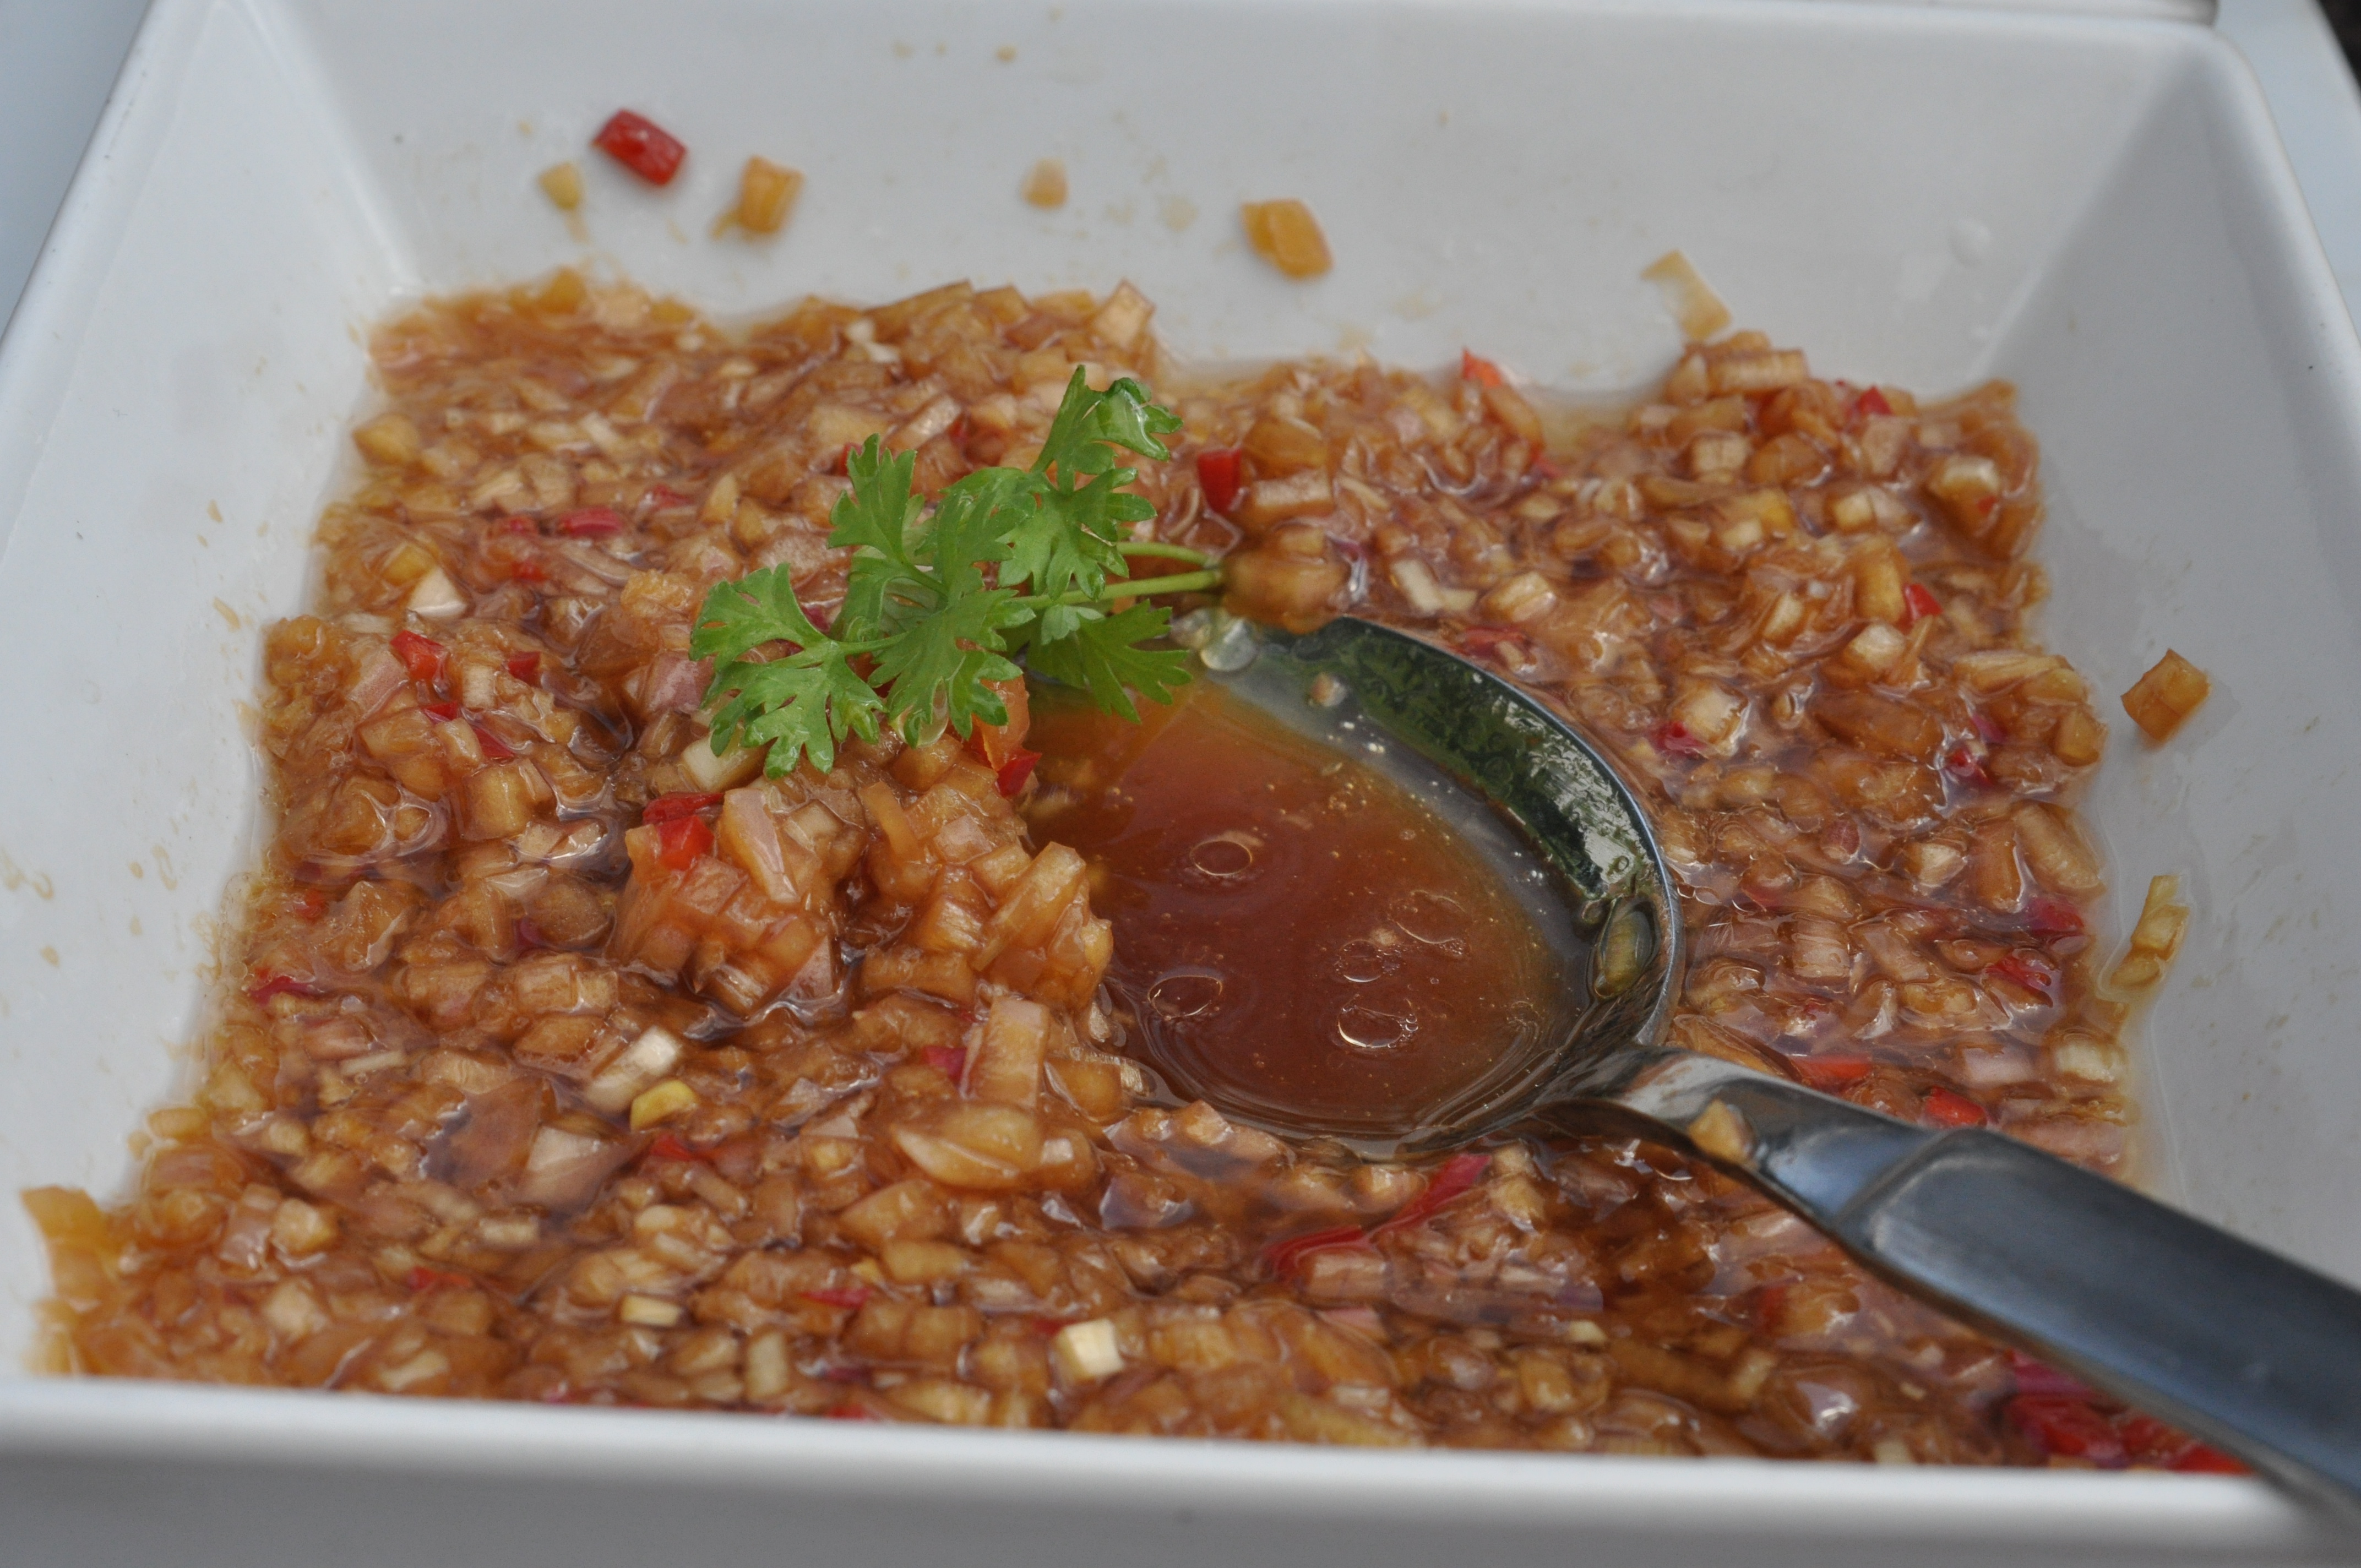
soy sauce dressing
Soy sauce dressing for oysters
- 2 shallots finely chopped
- 1/2 red pepper diced
- 2 cloves of finely chopped garlic
- 2 tablespoons of soy sauce
- 2 tablespoons of olive oil
- 2 tablespoons white wine vinegar
About two hours into the feast, after we had eaten more oysters than we could possibly count, had more than a few glasses of wine and beer and we were all perfectly happy sitting in the sun, something really special happened.
Just when we thought the day could not get any better, Alex (my boyfriend) found a pearl!
Because I had organised the day (and I can vaguely remember letting out a scream for him to give it to me, oops) he gave the pearl to me! The perfect ending to the perfect day!
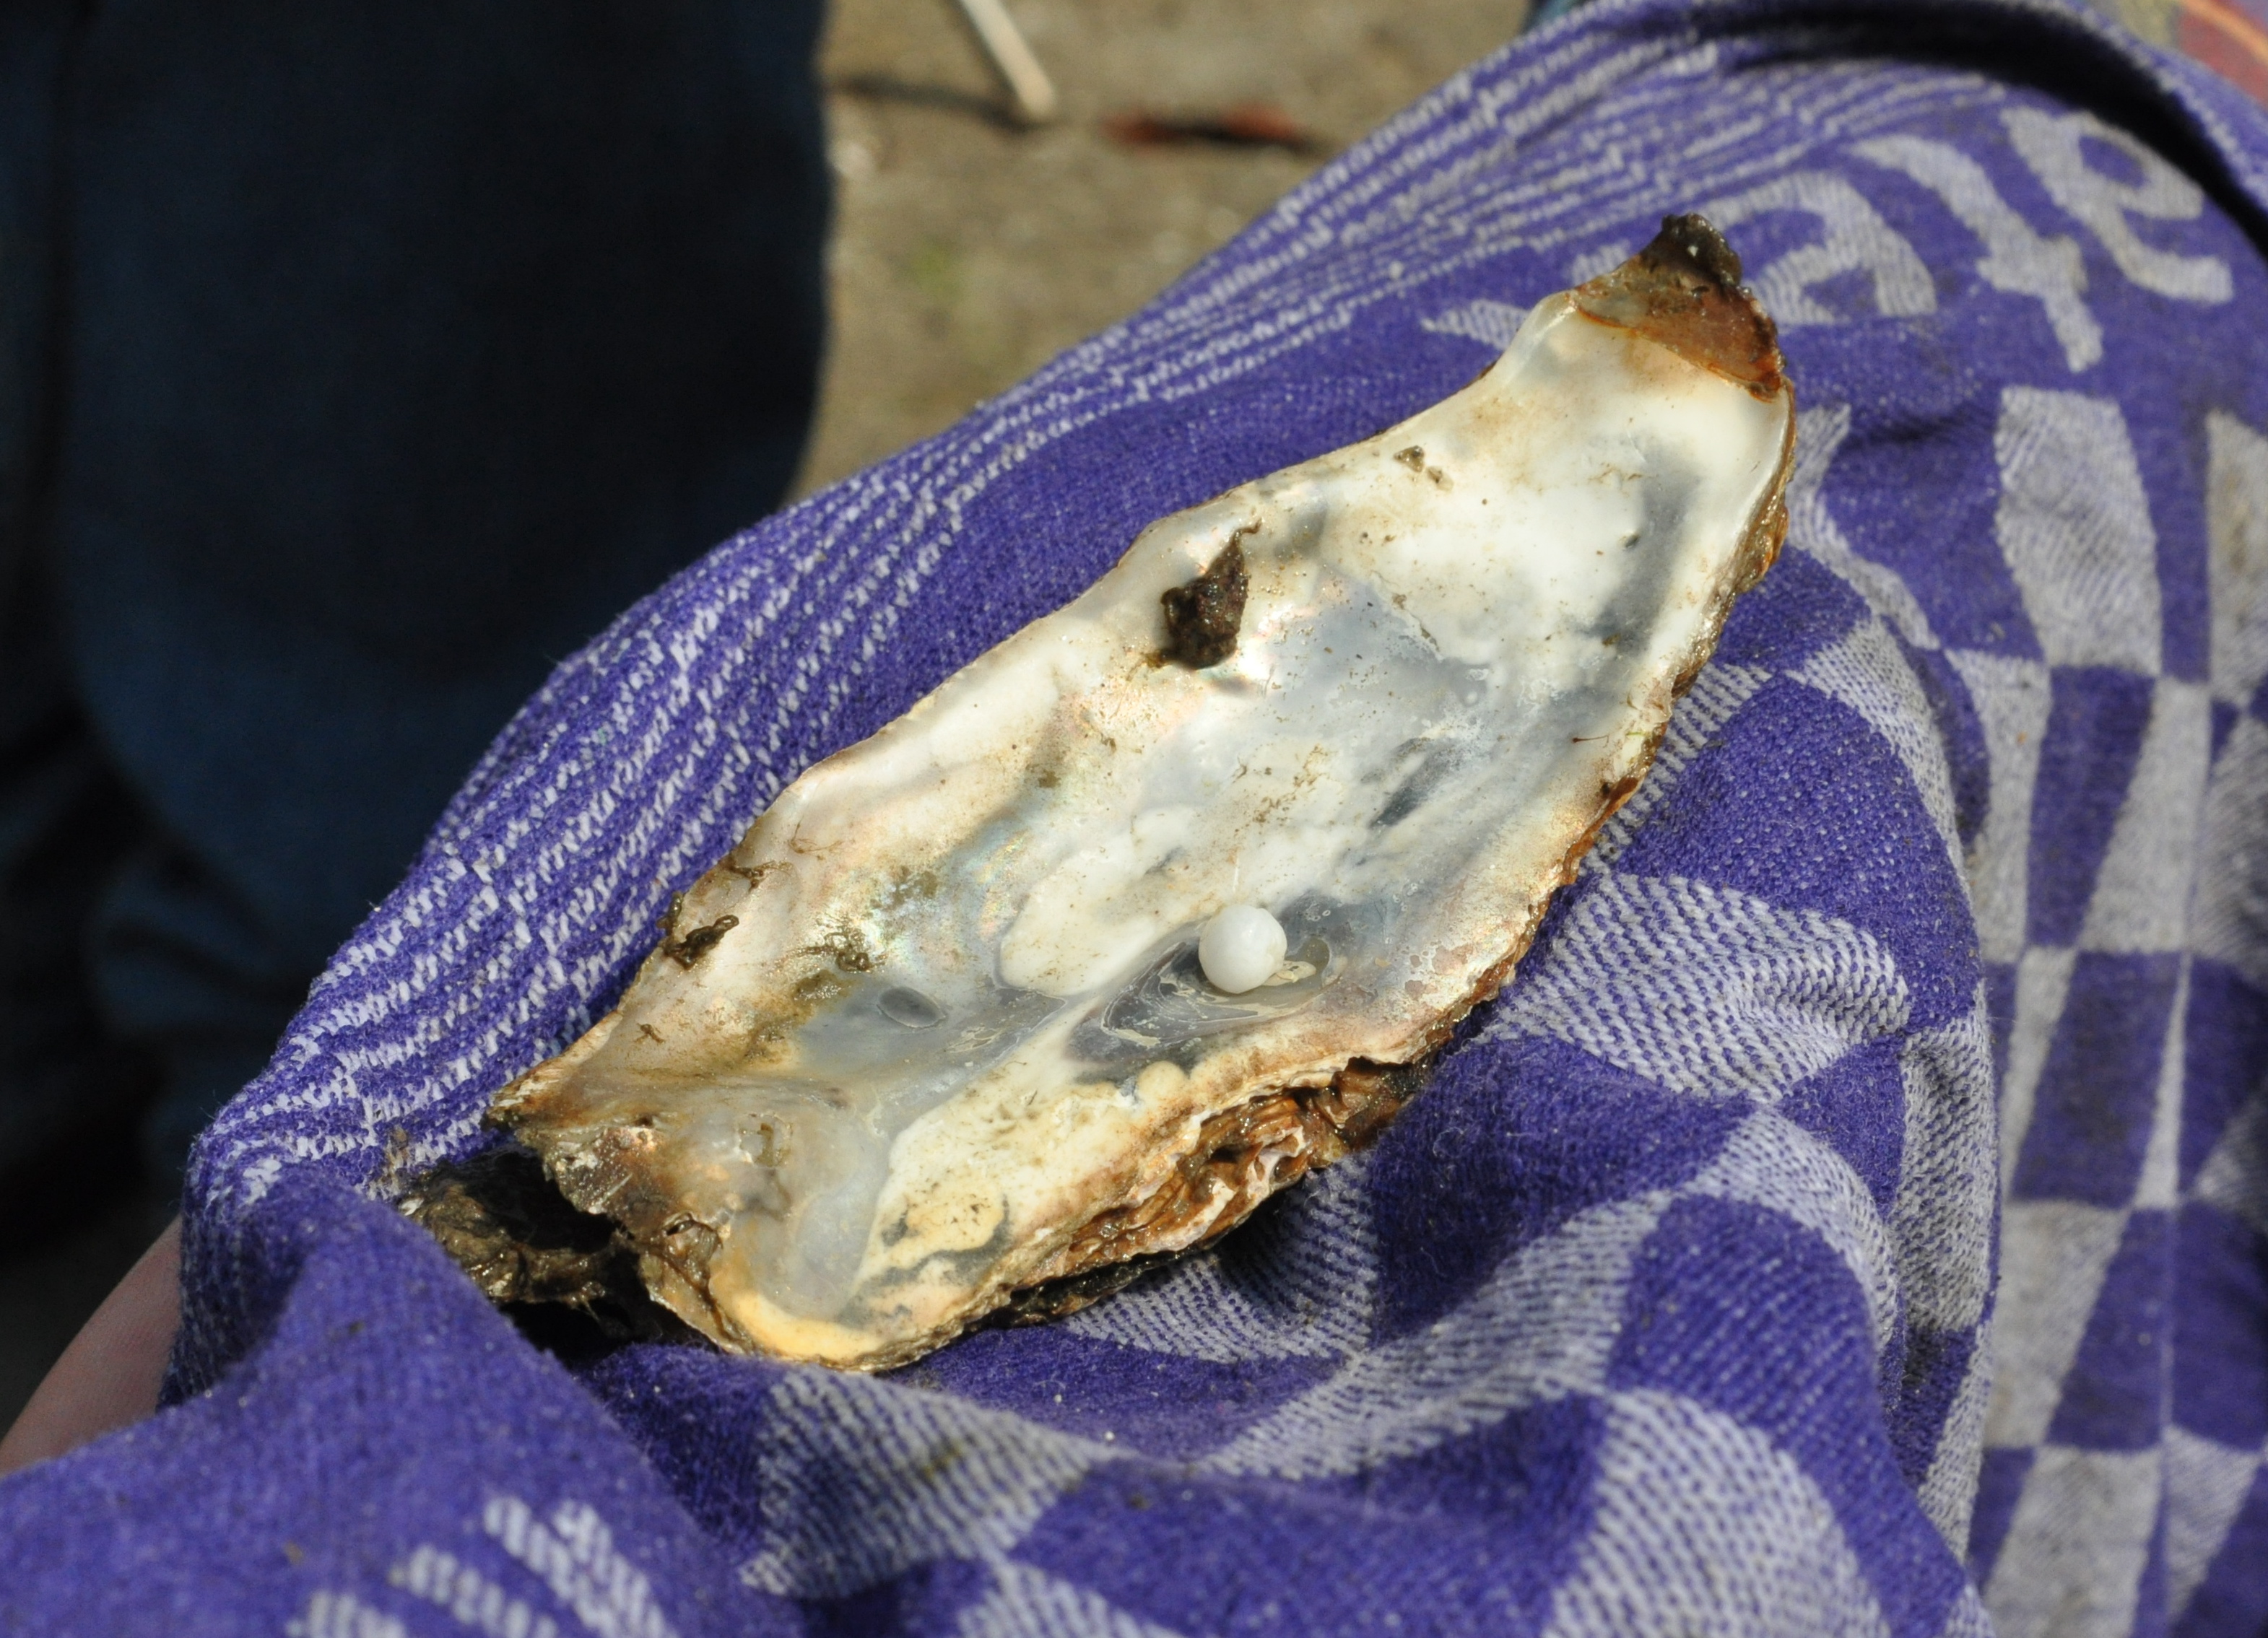
A real pearl!
After some research I found out that is very rare for a pearl to be found in a wild oyster. It is estimated that only 1 in 35.000 wild oysters contains a pearl. An oyster makes a pearl when a little piece of dirt (sand grain, seaweed, wood particle) gets stuck inside the oyster while it is sucking in water to filter out the plankton that it lives on. Sometimes the oyster is unable to get rid of this little pice of dirt and because this irritates the oyster it begins to form layers of the inner shell (mother of pearl) around the dirt to make it smoother. Apparently it takes about 200 layers to make a pearl with a 1 mm width! It must have taken many years to grow into the size of the pearl we found, which makes it such a special and lucky find! My plan is to make it into a hanger for a necklace, when its done I promise I will post a picture.
I can imagine that some of you would also like to go on the Oestour.
Your first chance to hunt for your own oysters and to find a pearl (not guaranteed) will be in September of this year.
Please visit the website if you want to order your tickets for next season: http://oestour.marcelschouwenaar.nl/